Sciatica
14 Stretches that are the Best to prevent Sciatica Greatist
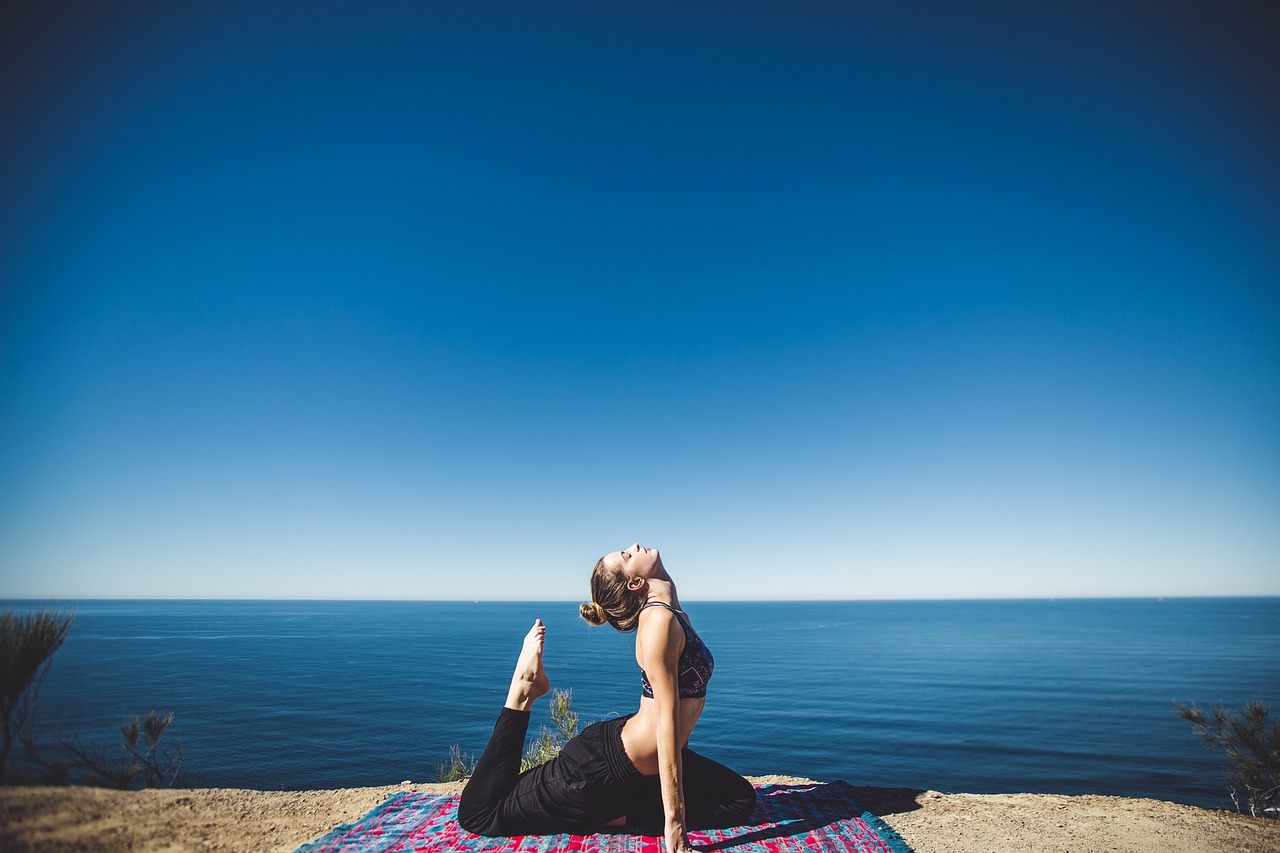
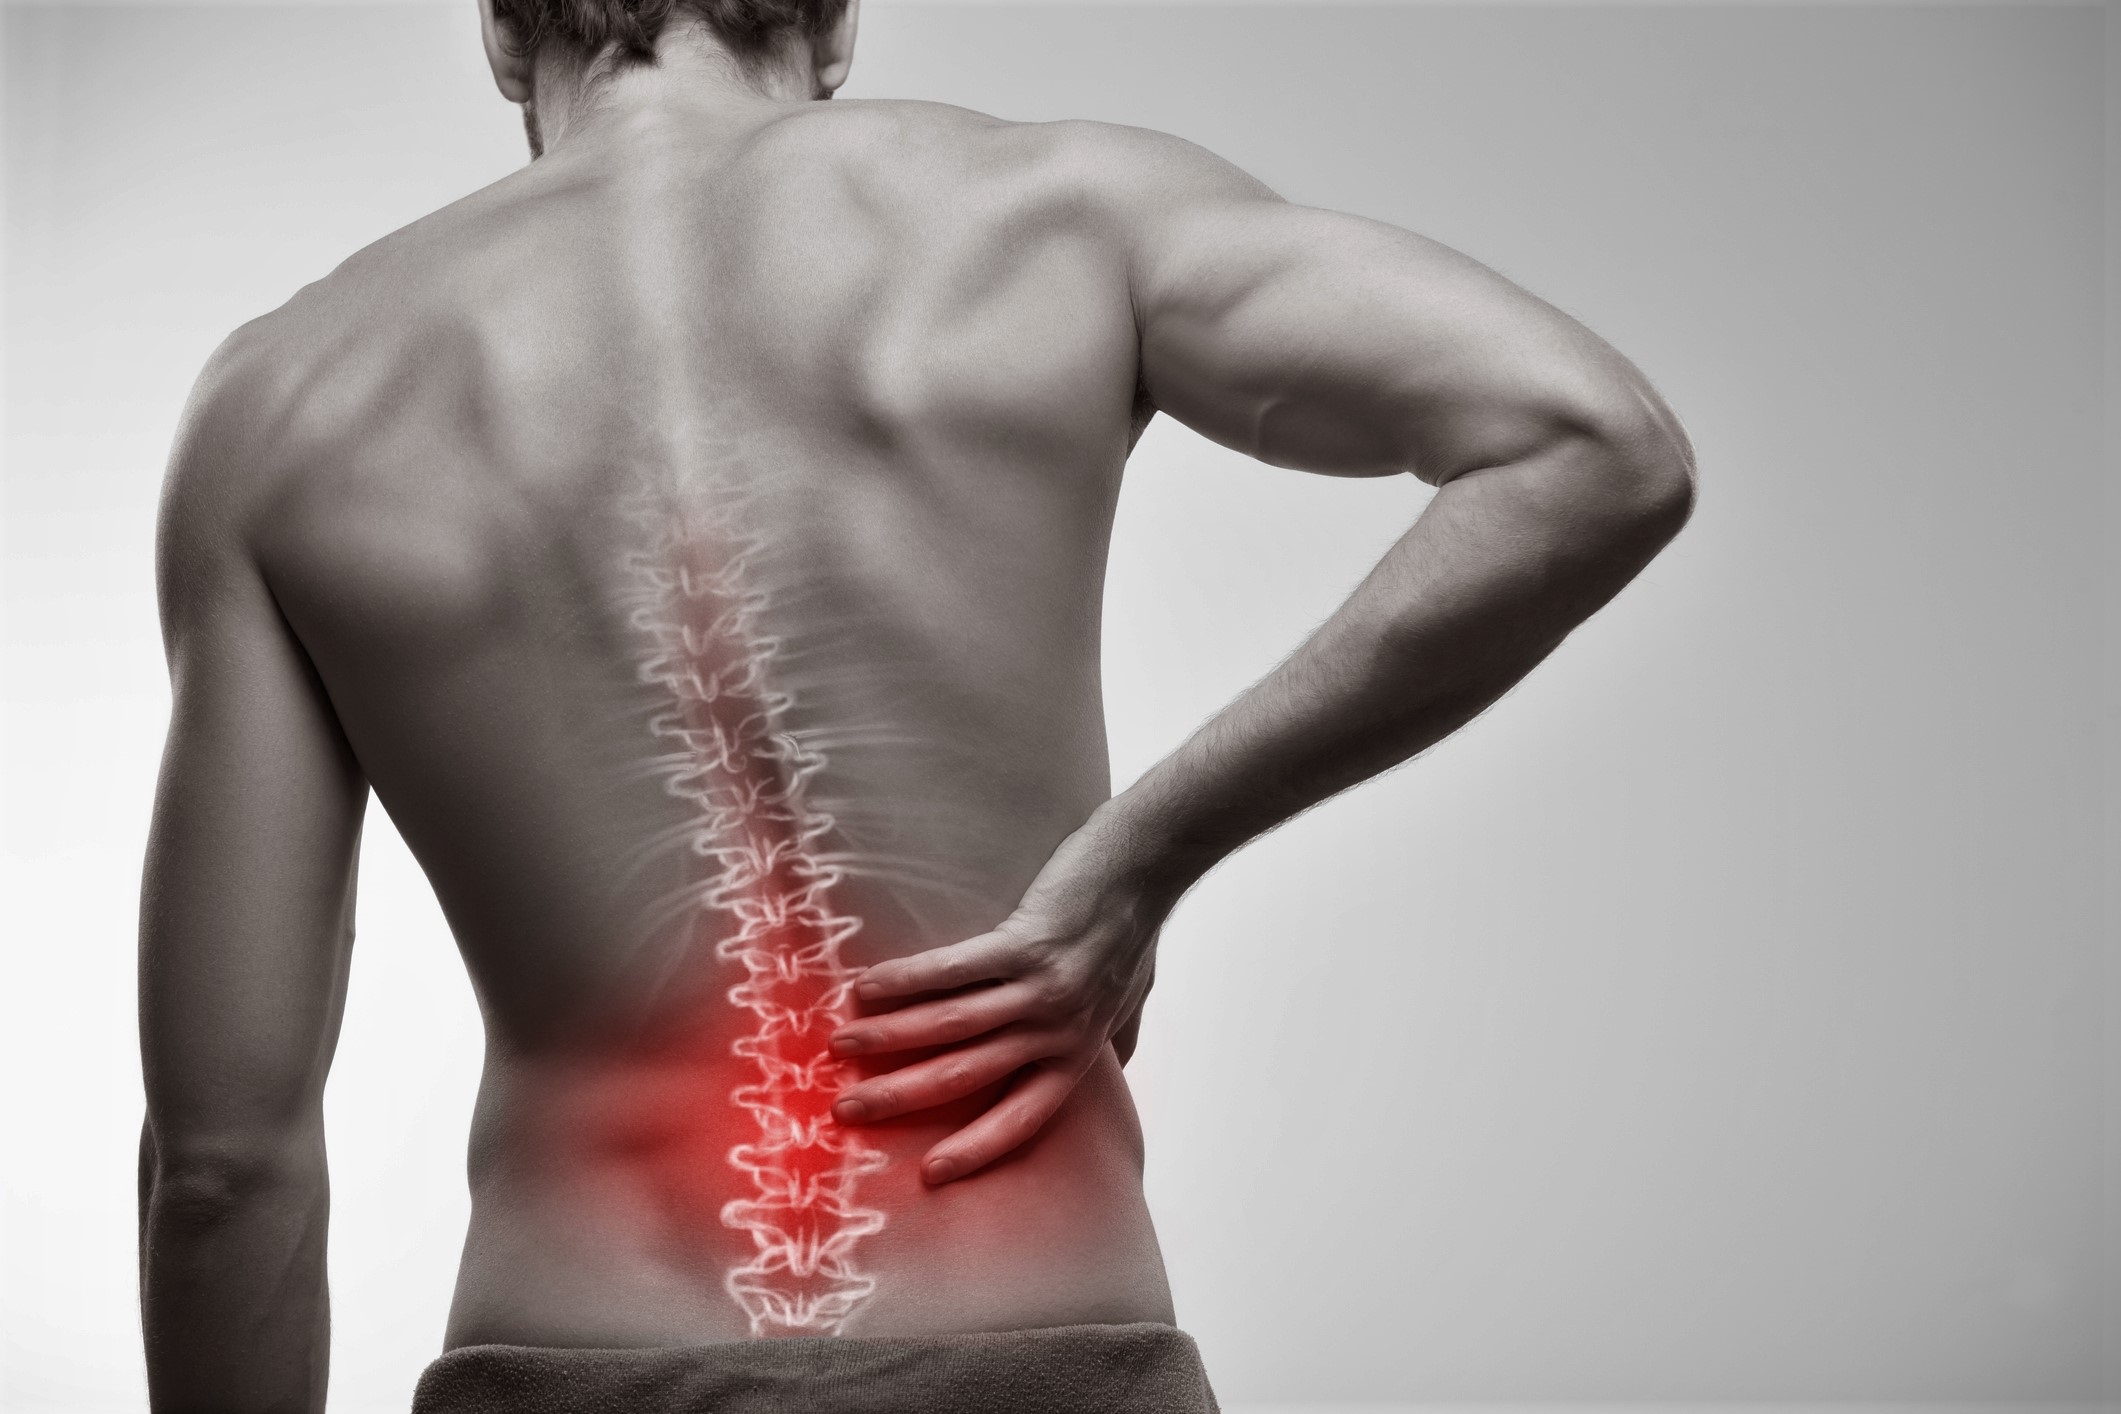
Sciatica is a nagging pain in the lower back. Also, the spine. and the legs. It could be a result of a variety of injuries or issues and therefore, preventing them is the best option for maintaining the pain to arms-length. What is the best way to avoid sciatica? Stretching, obviously!
But not just any stretching , but the right type of stretching. This 14 sciatica exercises come with our complete support.
The fourteen Sciatic nerve exercises are among our top picks to ease tension and relieve pain.
This easy, simple introduction to sciatica stretching loosens your hamstrings. If they’re not tight enough they’ll pull on your pelvis and strain the lower back. To alleviate this issue, performing daily hamstring stretch exercises with scissors will help reduce strain in the lower back.
How to accomplish it:
- Start by standing with your right foot positioned approximately three feet ahead to your left.
- Keep your shoulders and hips straight, place the hands of your hips, if it aids.
- Then, by bending forwards at the waist and straightening your back to place your torso in line with you front feet.
- Your weight is supported on your front foot Hold this position indefinitely for approximately 10 minutes.
- Return to your starting point and repeat, but this time using your left foot ahead instead of the right.
- Make sure you do three reps per leg.
There are many variations to this stretch the stretch can be performed sitting or standing. If done properly, you’ll help alleviate pain by reducing your back’s extension (when the spine moves to the side).
How to go about it:
- Start by standing straightand feet spaced about hip width apart.
- As long as you keep the legs straight and your feet in a straight line, do bending your knees at your waist. Bring your head as low as you can.
- As soon as you begin to feel the tension throughout your lower back Relax into it, putting either your fingers on the ankles of your legs or on the floor to support you.
- Keep it for 10 seconds prior to gradually easing back to the beginning position.
- Try to do three repetitions
The single-leg knee-to-chest stretch can be described as an exercise that is isolated, meaning it targets one part of the body the same time. It’s great for evening out any muscle imbalances, and also maintaining your weight evenly.
How to accomplish it:
- Relax lying on your back and hold your right knee using your right hand.
- Gentlely move your right leg to your chest until can feel a comfortable stretch within your hip.
- Keep it for 10 seconds.
- Relax back to your starting position, and repeat the exercise using your left leg.
- Three reps is the goal.
A tougher version from the stretch of one knee this more extended stretch aids in spinal flexion , and also opens enough space to the nerve.
How to accomplish it:
- Place your feet on the floor, keeping your legs joined, with your arms fully extended.
- Lift your right knee and hold your knee’s top by using both hands.
- If you do not lift your hips off the floor, lift your right knee towards your left shoulder.
- When you are able to feel a comfortable stretch, lift your head to the top to complete the stretch.
- Keep the position for 30 seconds prior to returning to the position you started from.
- Repeat this exercise on your left knee to do three reps for each leg.
This sit-up exercise is fantastic to increase ankle flexibility. It also de-sensitizes the sciatic nerve and improves mobility within your legs. It is able to work on by focusing on one leg at a aiding you in addressing any imbalances in muscles.
How to go about it:
- Begin at the beginning by sitting on a stool, or on the floor , keeping the back straight.
- Maintain one knee bent, so that your foot is level against the floor. Do this while straightening the knee until the other foot is facing you.
- Your foot should be bent back until your toes point towards you. You can employ an elastic band or towel to pull your toes back when needed.
- Turn your foot back to the opposite side so that your toes point away towards you.
- Move your feet back and forth for 20 times. If you’d like to push it further then lean toward the side so that your you are able to rest your chin on your chest.
- Repeat the exercise with the opposite leg, aiming at a set of 20 reps.
In addition to being a great exercise that comes with some serious name cobra poses can aid in relieving the symptoms of disc herniation. The pose also comes with an improved version that makes things simpler.
How do you go about doing it?
- Lay on your stomach and keep your legs out in front of your back.
- Your elbows should be bent so that your palms lie flat on the floor near your chest.
- Then lift the chest up off the floor and straighten the elbows. If you are hurting, alter it by only slightly stretching your elbows and then elevating your chest 45 degrees.
- For 10 seconds, hold the position for 10 seconds and then slowly then slowly back to the beginning position.
- Ten reps is the goal.
The sitting-down variation that is a sitting-down version of piriformis stretch (which we’ll talk about shortly) is another excellent alternative to improve mobility in hips and lower back. You’ll require an exercise bench or a chair to perform this stretch.
How to accomplish it:
- Place your feet flat on the floor. Keep your knees bent to 90°.
- Your right leg should be raised and place it over your left knee.
- Concentrate on breathing while moving your body forwards and over your knee and ankle.
- Maintain the position for 30 seconds before returning to the starting position.
- Repeat the exercise with the left side, aiming to do three reps on each leg.
Then, we’ll go back to your hamstrings for an instant, they are attached to the bottom of your pelvis. They can cause lower back discomfort or tightness in the event that they’re not limbered. This stretch will help to in limbering them up!
How to go about it:
- Keep your feet straight and put them close.
- Lengthen your right leg about 5 inches to the side and rest your heel upon the ground or in a chair (anything that’s a little below the waist).
- Lean toward your waist and forward Keep the back in a straight line until you sense a stretch in the back of your leg.
- Maintain the position for 30 seconds before returning to the position you started from.
- Repeat the exercise with your left leg and aim for three repetitions for each leg.
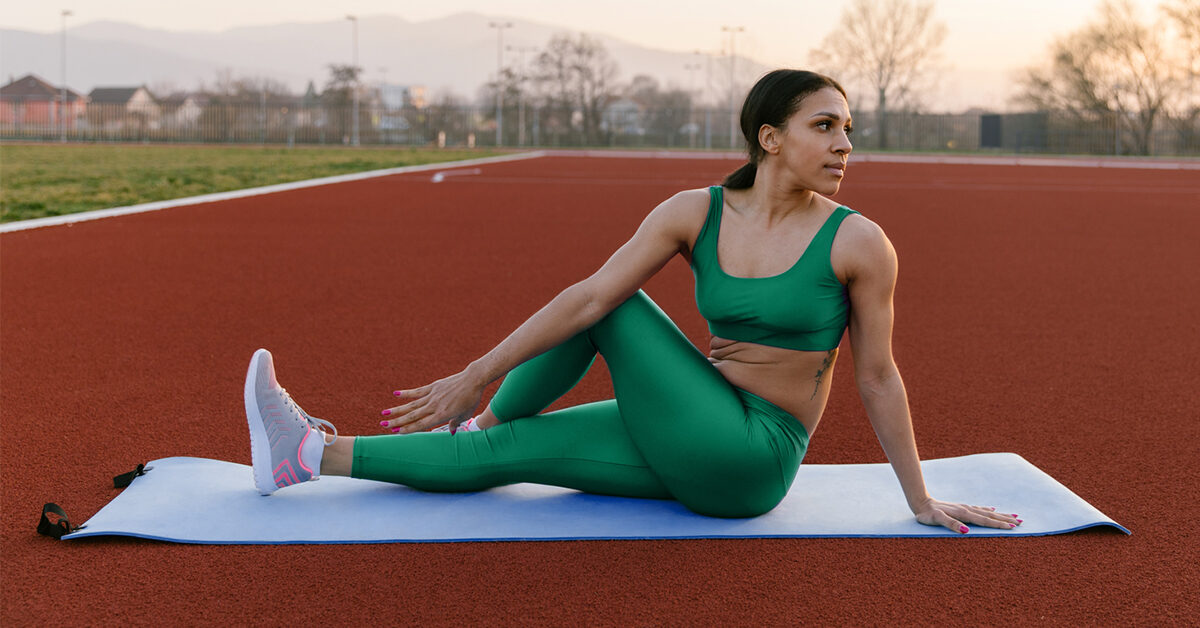
Here’s a nice, gentle flexible flex that will ease pressure on your joints.
How to accomplish it:
- Begin sitting on the floorwith your back straight, and extend your legs extended in front of your body.
- Put your right foot on the ground, crosswise over the left knee’s outside.
- Turn your body to the left, then increase the stretch by placing your left elbow to the outside of your right knee.
- Do this for 20-30 seconds prior to returning to the starting position.
- Repeat on the next leg, aiming at three reps per leg.
The hips can be a source of many tensions and trigger sciatica discomfort. This one, our first of the three pigeon pose variations helps relieve that tension.
How to go about it:
- Lay down flat upon back. Lie flat on back while keeping your knees firmly on the floor.
- Bend and lift both of your legs. Bend one knee to 90 degrees, and place it on your left leg.
- Grab your left thigh using both hands , and then pull back in your body until you feel the limits of the stretch.
- Keep the position for 30 seconds prior to returning to the starting position.
- Repeat the exercise with the second leg, and aim to do three repetitions.
In keeping with the pigeon theme These sciatica exercises help open more hip flexion and general mobility.
How to go about it:
- Begin by sitting down on the floor, extending your legs out straight with both feet in front.
- Make sure you bend your right knee, then place your ankle on your left knee.
- Lean forward until your upper body extends toward your thigh.
- Keep it for 30 seconds prior to returning to the starting position.
- Repeat with the opposite leg, aiming at three reps.
The forward or traditional position of the pigeon is usually the most difficult variations, yet it’s a great method of stretching your hips by utilizing your own weight.
How to go about it:
- Put your hands on the floor and knees.
- Bring your right knee forward, then lay it across your torso until you’re right-foot is in alignment to your left knee on the floor.
- Your left leg should be moved back until it’s on the floor. Your body will naturally fall onto your right foot.
- Assisting the majority of your weight on your legs Utilizing your arms to bring your body until you can feel the stretch in your right cheek (or glute, if you’re doing something technical).
- For 30 seconds, hold the position for 30 seconds, then resume your normal routine.
- Repeat on the next leg, aiming to do three reps for each leg.
Tensed muscles in the groin or adductor could quickly cause sciatic nerve discomfort. Fortunately, keeping things smooth and loose is easy enough to do this stretch.
How to accomplish it:
- Begin on all fours with your knees spread as wide as far as you are able to get them.
- With your hands on the floor and your elbows straight, move your torso inwards towards your hips.
- Utilize fingers to move yourself back even more until you notice it hitting your lower groin.
- Maintain this position for 15 seconds.
- Releasing back to the starting position, repeating for three repetitions.
Let’s end with a difficult sciatica exercise. The piriformis muscle is located in your butt near the upper part of the joint in your lower hip. This stretch assists in relieving tension. If you’re able to stand up and balance while standing, then that’s fantastic. If you require support and support, then just a few meters from the wall to begin.
How to go about it:
- Place your feet the shoulder length.
- Cross your right leg over your left knee.
- Lean your right leg forward until your hips bend at 45 degrees.
- Keep it for 15 seconds until your legs have a typical four-point shape.
- Relax back to the position you started from and repeat the exercise with the second leg.
- Try to do three reps for each leg.
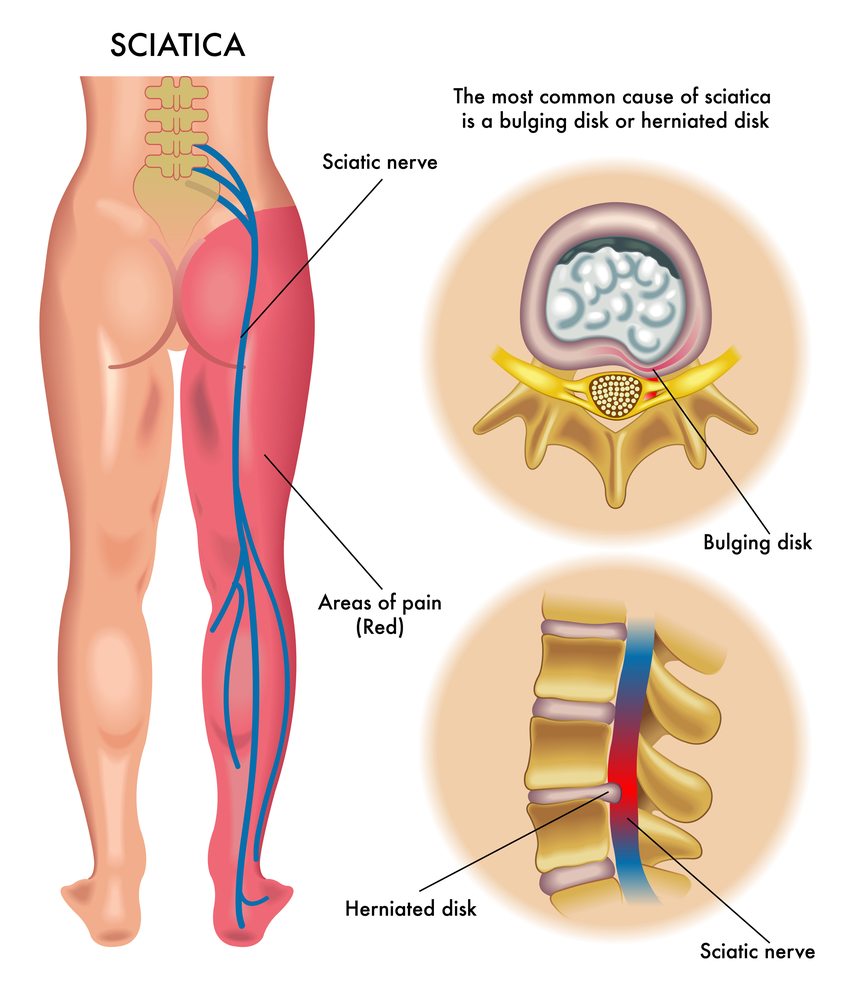
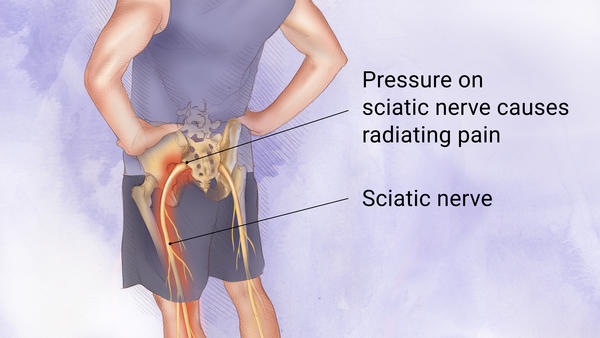
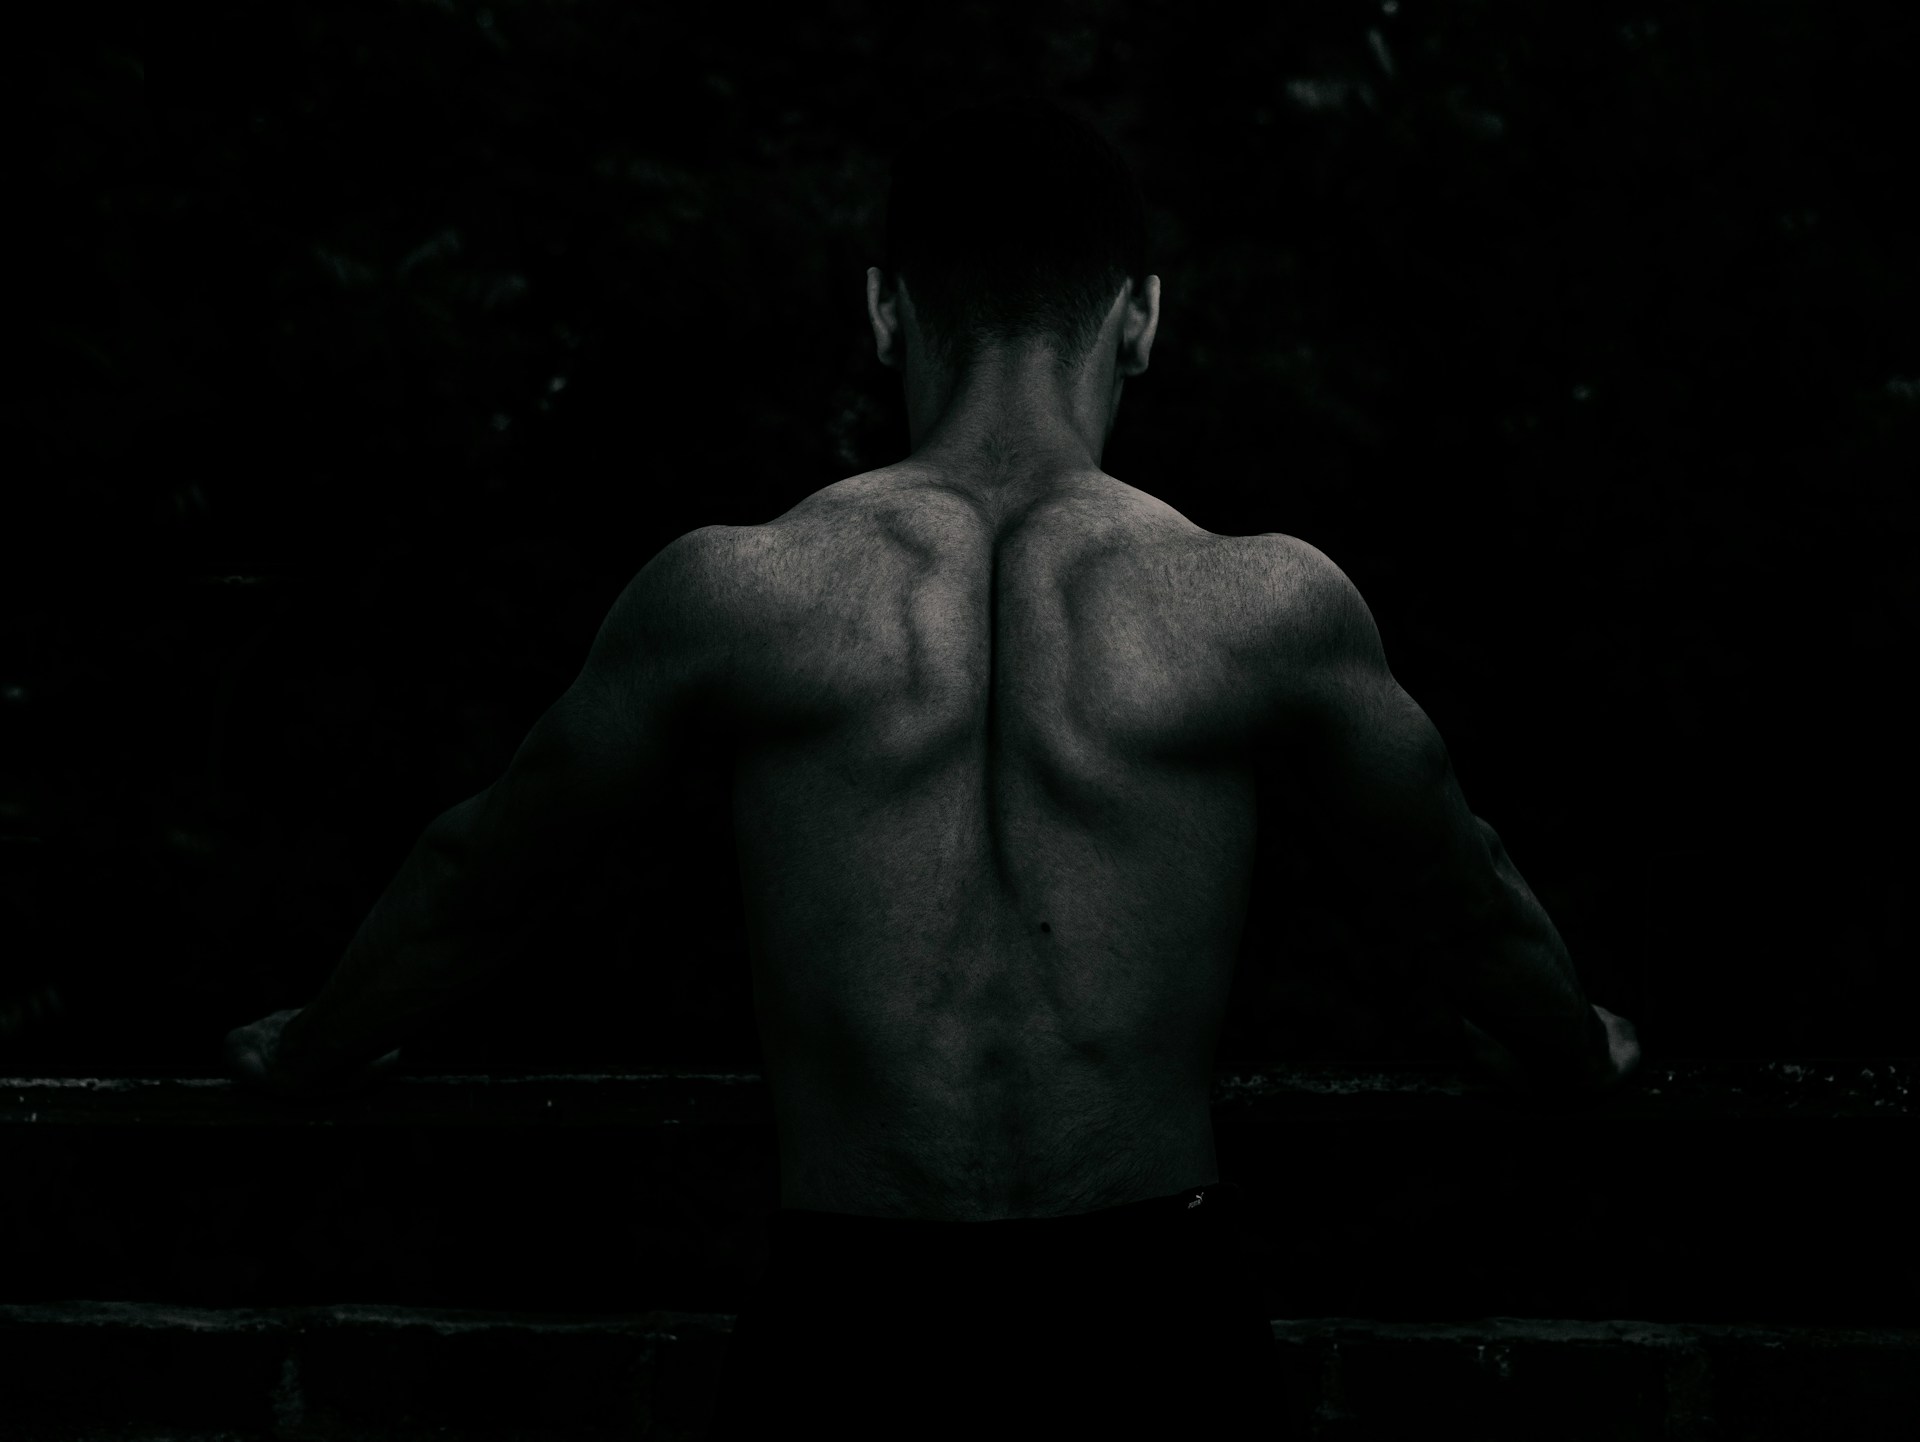
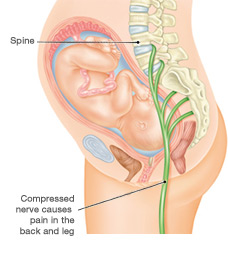
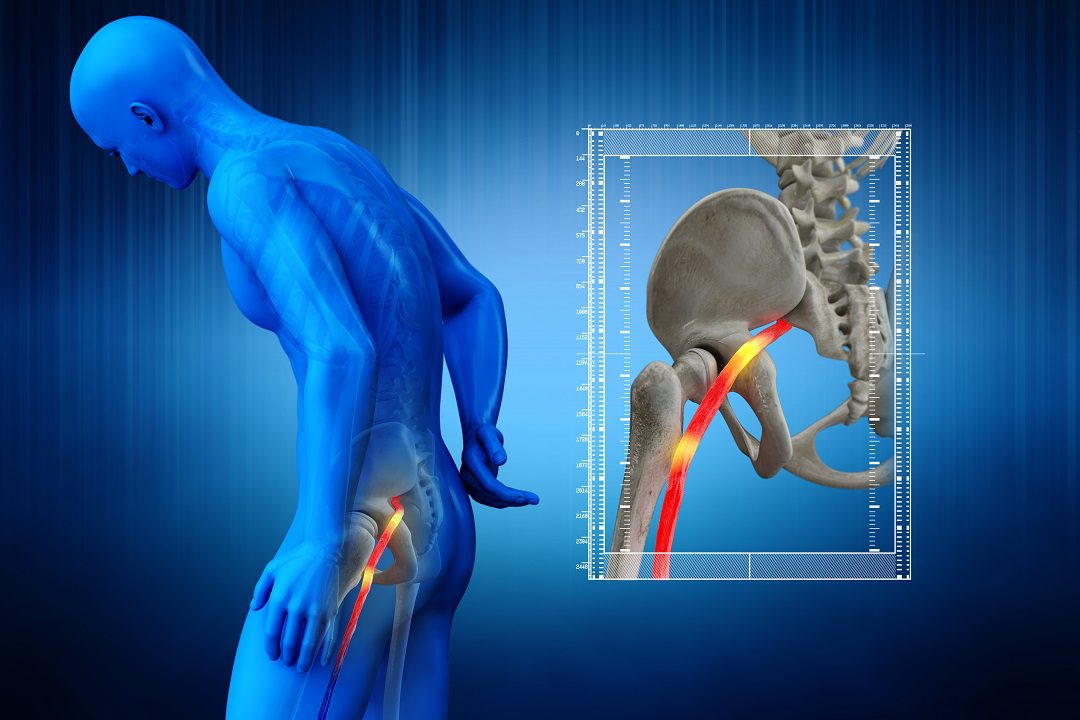
Sciatic nerve is the most significant nerve within your body, which runs through the middle of your spine along your butt, and then across your leg until your toes. If it becomes irritated, or inflamed, pain may be felt wherever the nerve moves. This is called sciatica.
The nerve is susceptible to injury due to many reasons such as herniated discs or inflammation to simply not stretching correctly. If the pain isn’t severe enough, a lack of nerve mobility can limit the legs’ range of movement.
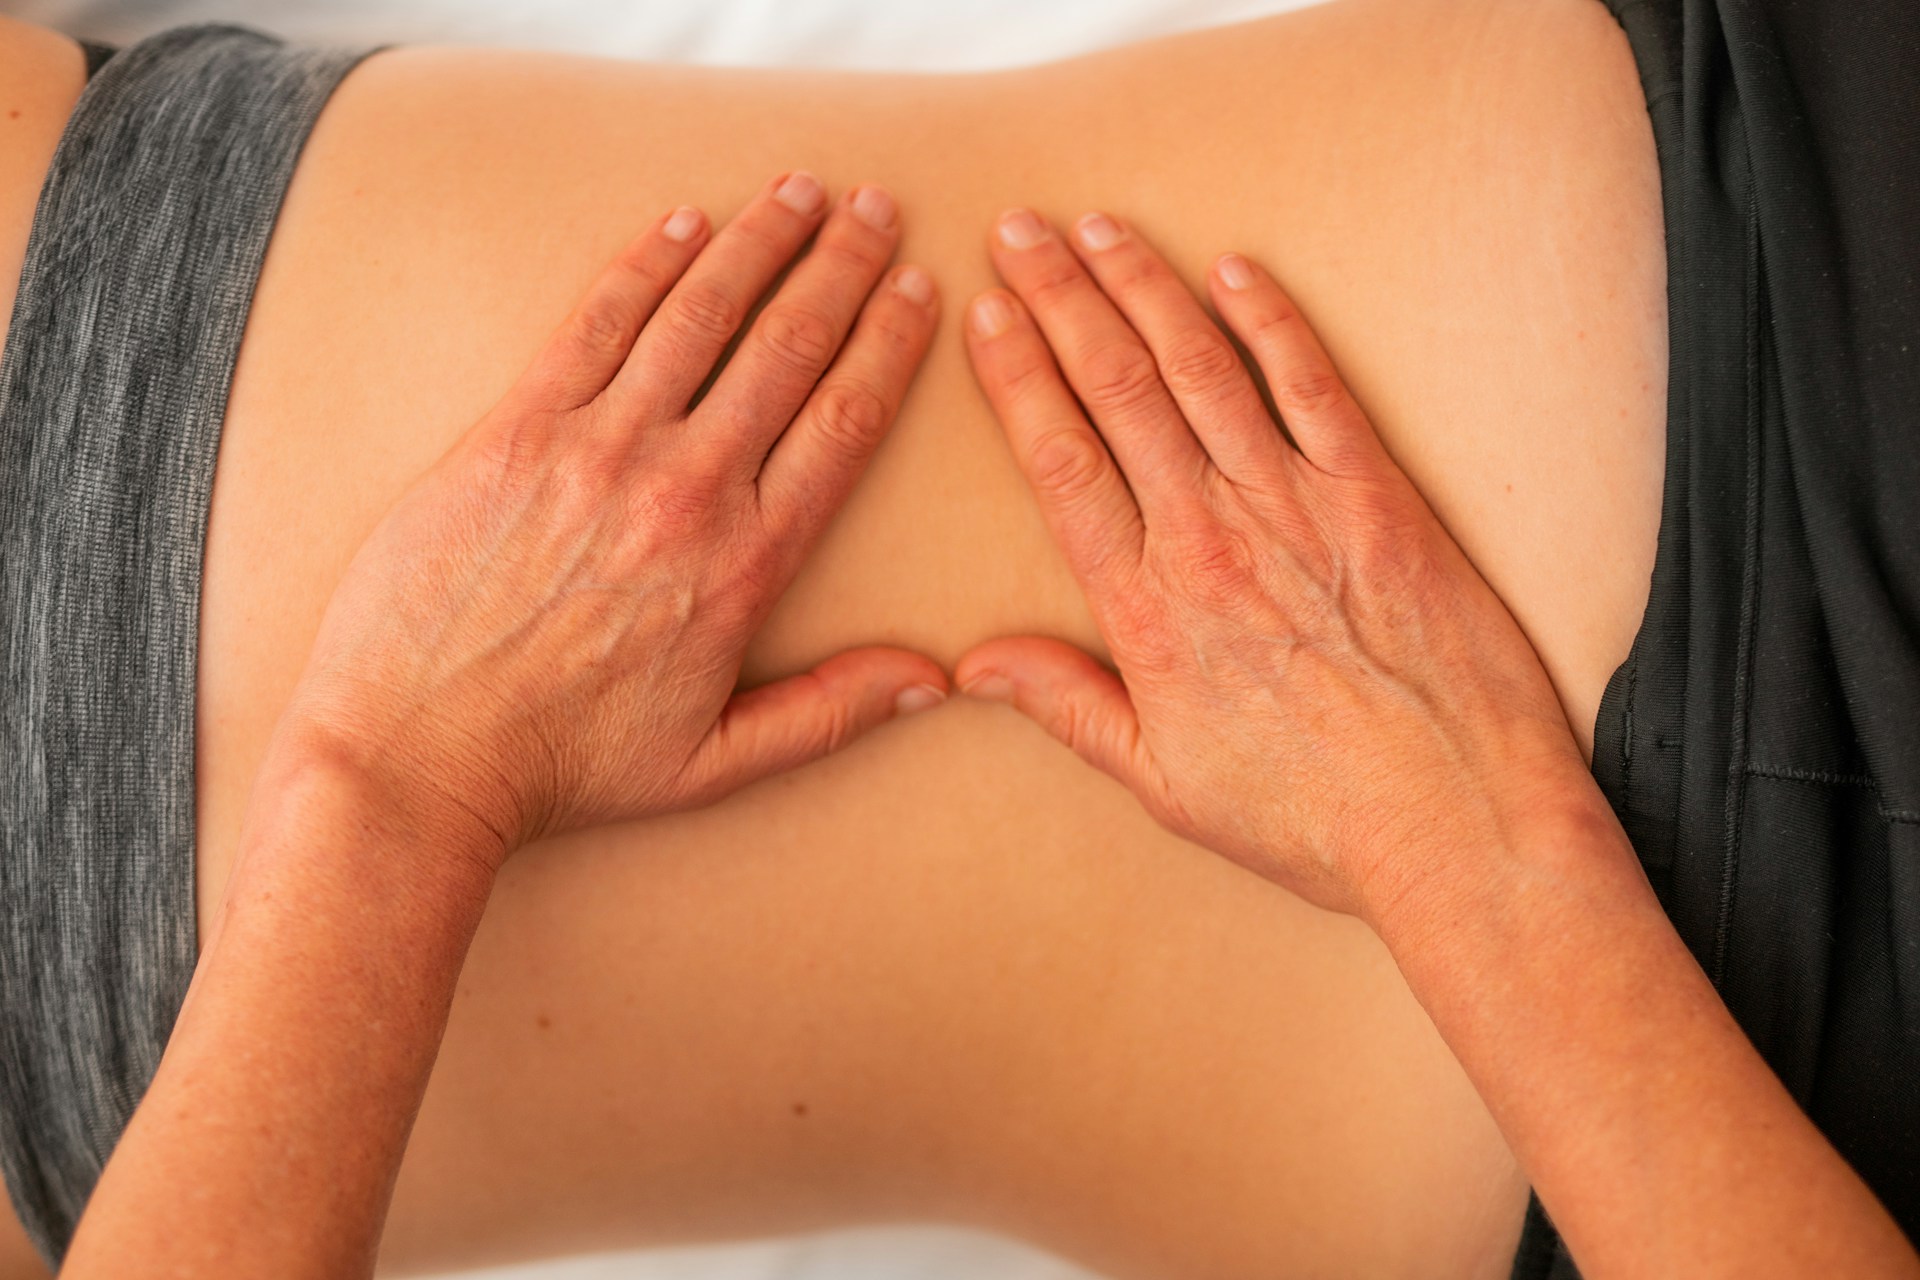
Research like this suggests that taking time to stretch your lower back can help alleviate tension over the sciatic nerve and lessen the discomfort.
Stretches can be great for relieving or preventing sciatic pain, but there are other options as well:
- In the initial few days following the onset of discomfort or stiffness Apply ice to the area 3 times per day.
- After the initial few days, change up and apply some heat to the painful area instead.
- Anti-inflammatory medications such as ibuprofen can aid in relieving sciatic pain.
Consult a doctor If sciatica persists for longer than a couple of weeks.
Sciatic pain can happen at any point during our lives. Do these exercises daily even when you’re suffering from discomfort, to stay in good shape and reduce the risk of injuries. When you’re concerned about your health, a cent of prevention is more valuable than a dollar of treatment.


Understanding Leg Pain: Causes, Symptoms, and How Chiropractic Care Can Help
Are Core Strengthening Exercises Effective for Lower Back Pain Relief?

Nerve Root Compression: Understanding, Symptoms, and Effective Treatments

Understanding and Treating a Herniated Disc: Your Guide to Relief and Recovery

Lower Back Pain: What’s Really Going On and How You Can Feel Better

Understanding Sciatica and Radiculopathy: Causes, Symptoms, and Management
How Often Should You Exercise to Maintain Lower Back Health?
What Are the Top 10 Exercises for Sciatica Pain Relief?

How Does Proper Hydration Reduce Muscle Pain Naturally?

Are Mesh Back Chairs Better for Sciatica Pain Relief?

How Does Stretching Help in Easing Sciatica Discomfort?

What Are the Top 10 Herbal Remedies for Natural Muscle Pain Relief?

How Does Regular Exercise Help Alleviate Lower Back Pain?

How Does Aging Contribute to Chronic Lower Back Pain?
¿Desaparecerá el entumecimiento de los pies con ciática?

How Does Heat Therapy Provide Natural Relief From Muscle Pain?
How Effective Are Herbal Supplements for Alleviating Sciatica Pain?
The Pain Tape Game: Does KT Tape Help With Sciatica?
Will Foot Numbness with Sciatica Go Away?
What Causes Sciatica Nerve Pain
How To Get Sciatica To Stop Hurting
How To Get Rid Of Sciatica Pain During Pregnancy
How To Drive With Sciatica

Will Sciatica Show Up On MRI
How To Fix Sciatica Pain Fast
How To Help Sciatica Pain Naturally
How To Help Sciatica Pain At Home
How To Know Its Sciatica Pain