Sciatica
Best Yoga Asanas For Sciatica Pain Relief | Femina.in – Femina
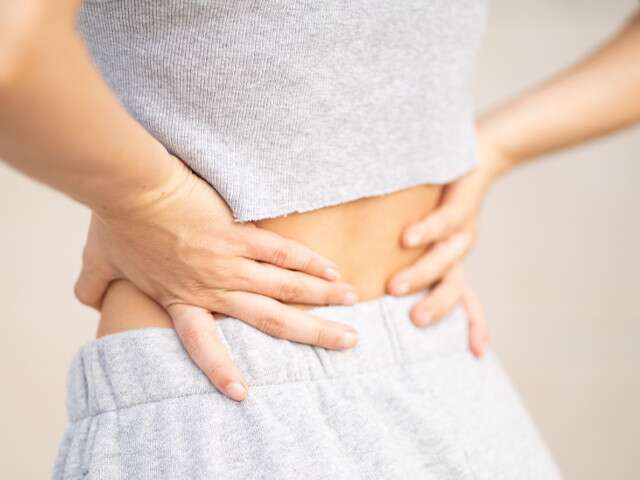
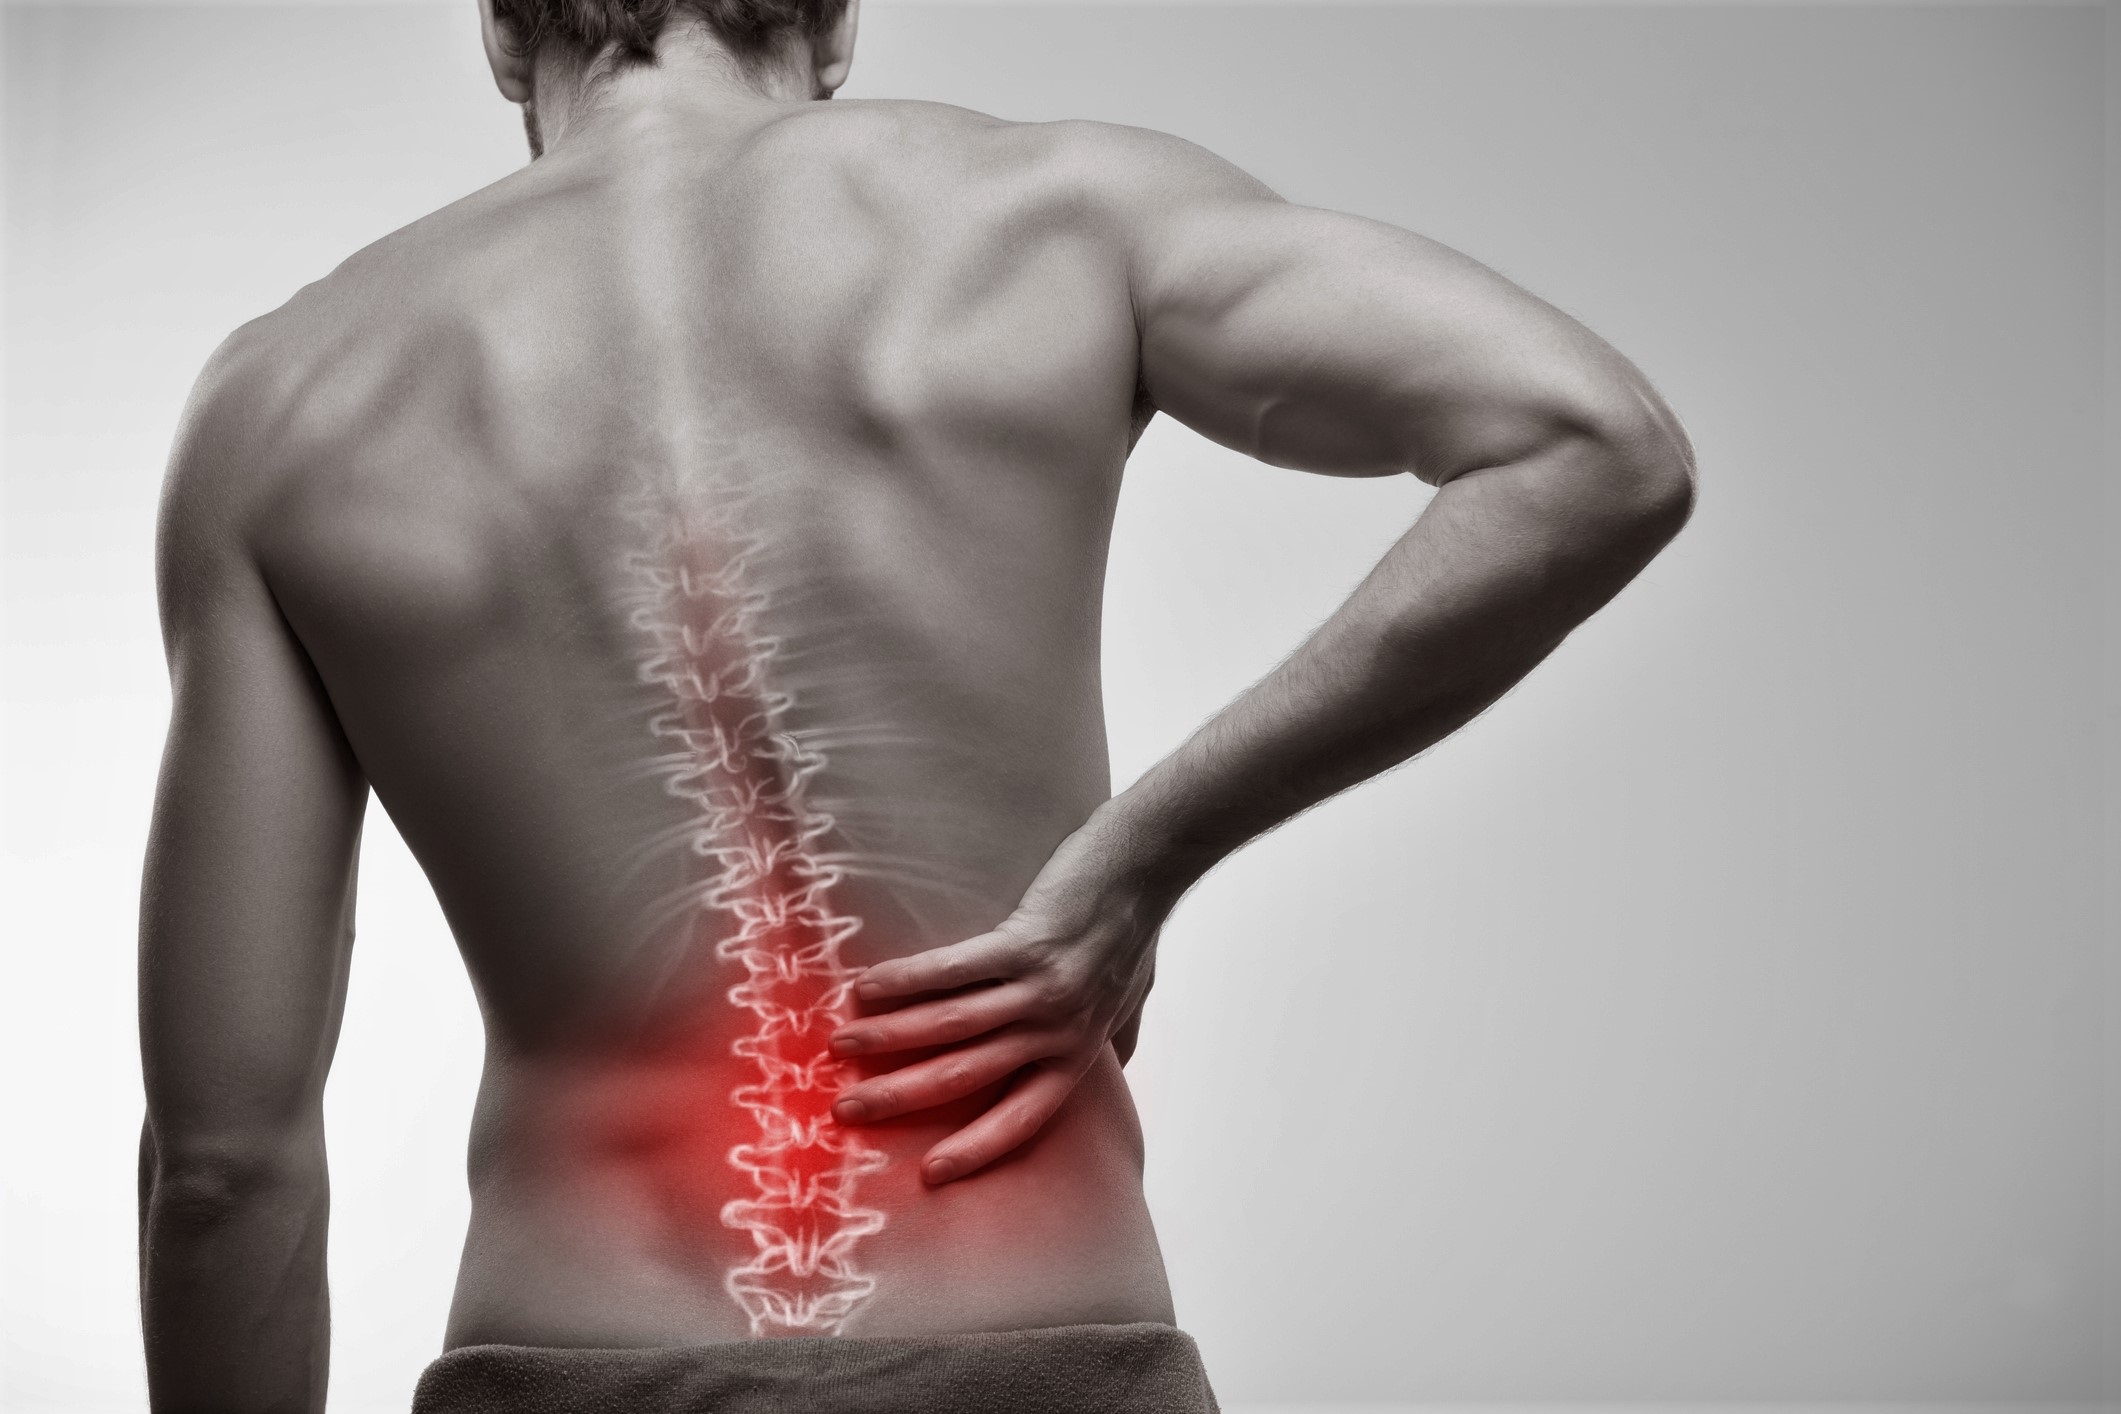
The pain in the back isn’t fun regardless of whether you’ve slept in a strange posture or had poor posture while sitting at work. Yoga can ease sciatica discomfort! Find out what’s that is causing the pain will be the very first thing to eliminating the issue. Perhaps muscles cramps? A irritated sciatic nerve which can cause sciatica is a possible cause.
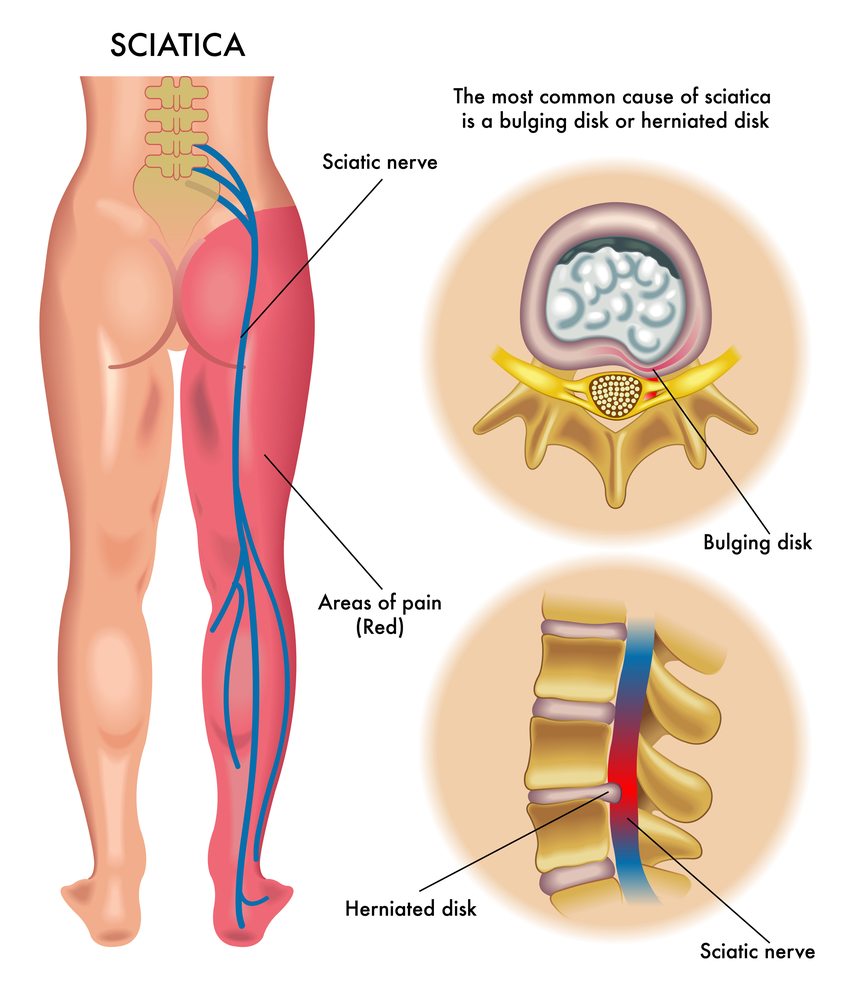
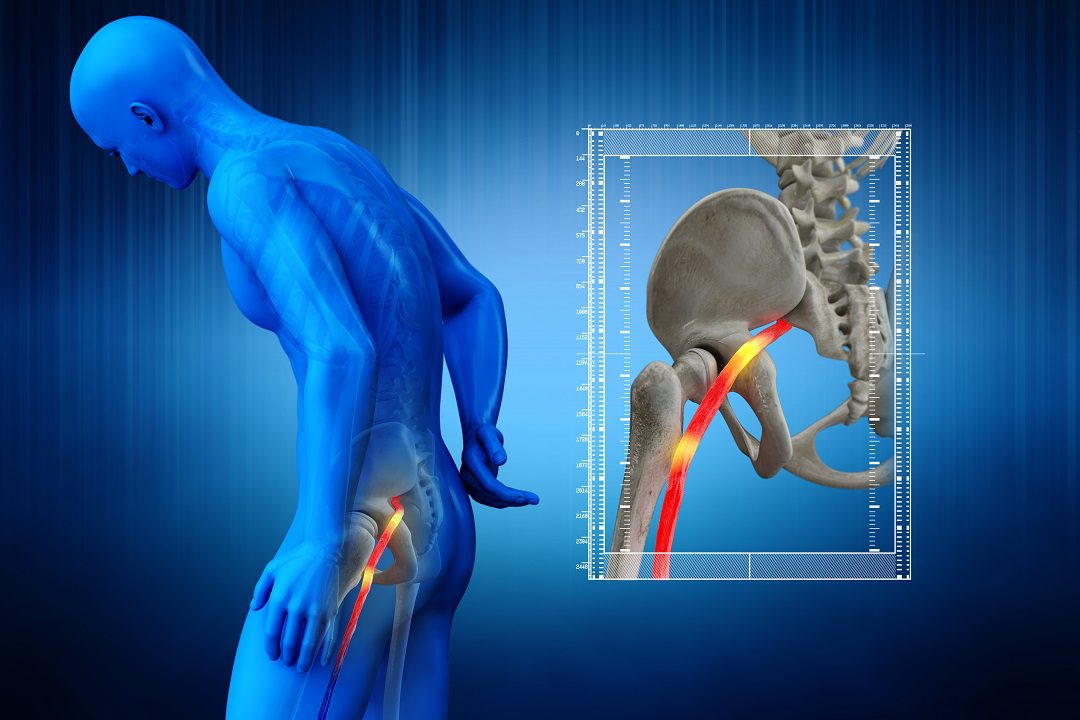
What is sciatica? It’s a nagging pain in your lower back caused by irritation or pinched sciatic nerves. The sciatic nerve originates in the lower back and is split into two branches that travel between your hips as well as the backs of your thighs to your knees.
Cured by Yoga?
Different Types Of Yoga
The Child’s Pose (Balasana)
Half Moon Pose (Ardha Chandrasana)
Cobra Pose (Bhujangasana)
Cat-Cow Pose (Marjaryasana/Bitilasana)
Locust Pose (Salabhasana)
Bridge Pose (Setu Bandha Sarvangasana)
Yoga Poses to Avoid
Commonly Answered Questions:
Curred by Yoga?

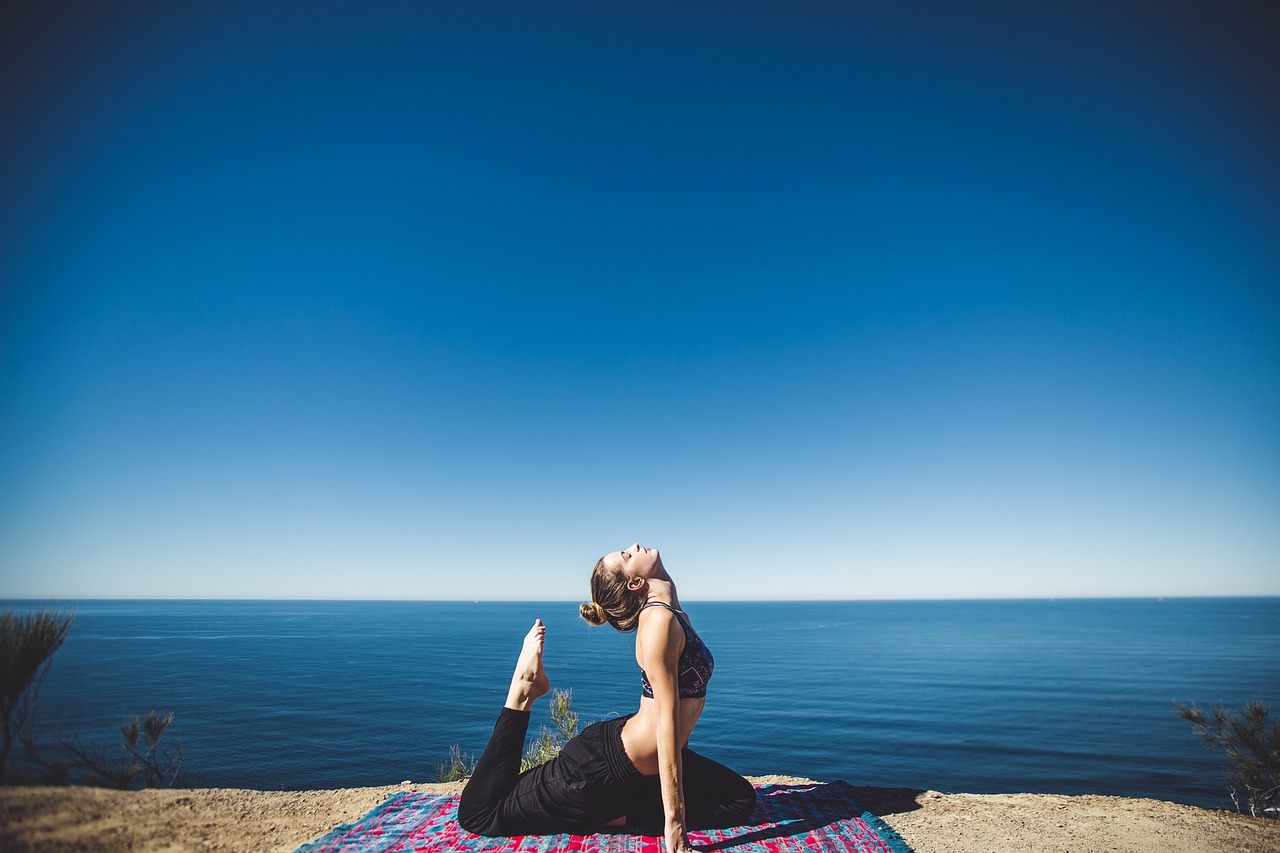
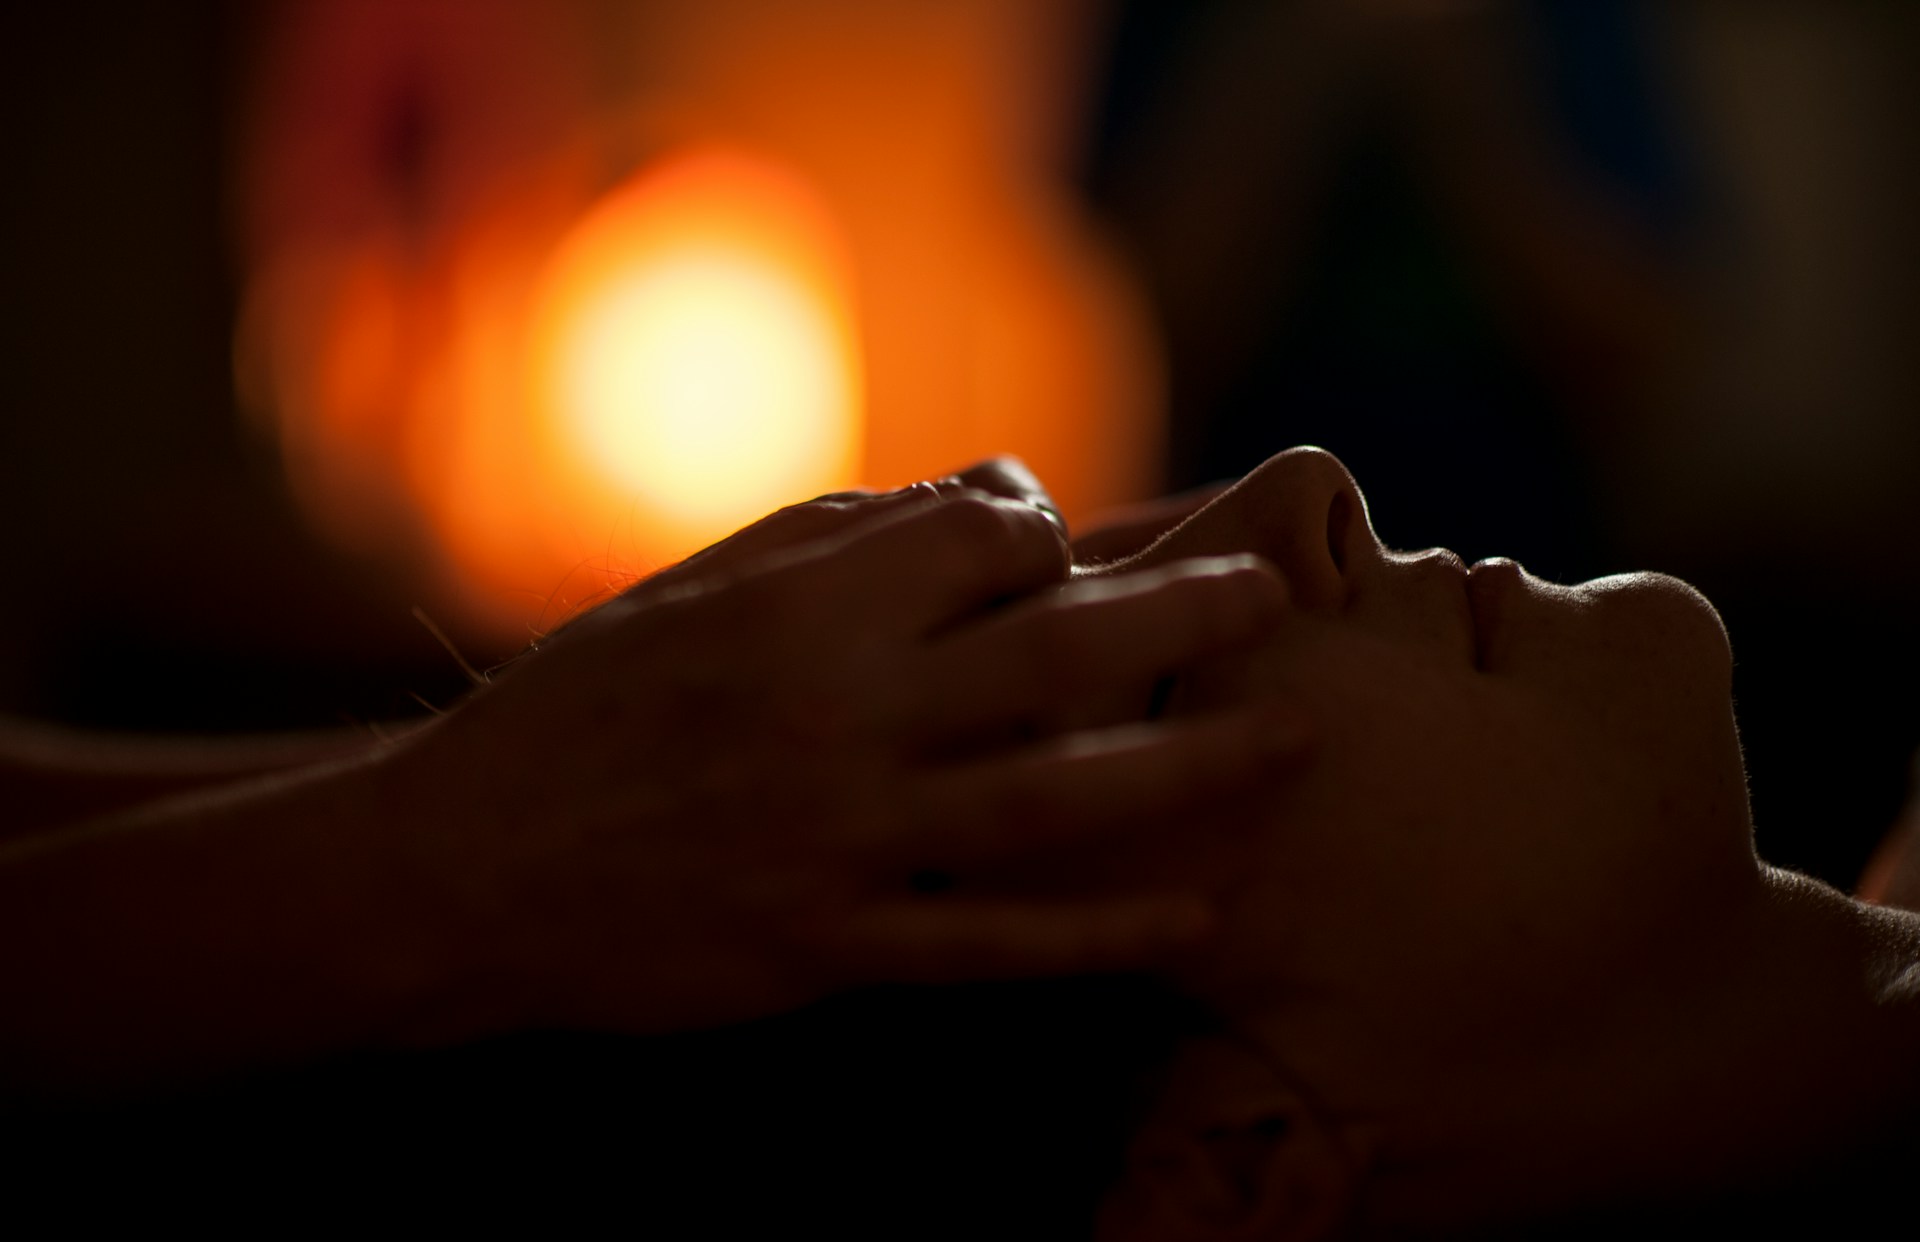
Image: Shutterstock
An easy yoga routine will greatly assist in the reduction of sciatic discomfort. Back back pain as well as sciatica sufferers can benefit from yoga postures and mindfulness, calm breathing. The practice provides sufferers with the assistance needed to deal with their discomfort and avoid serious issues.
Kind Of Yoga
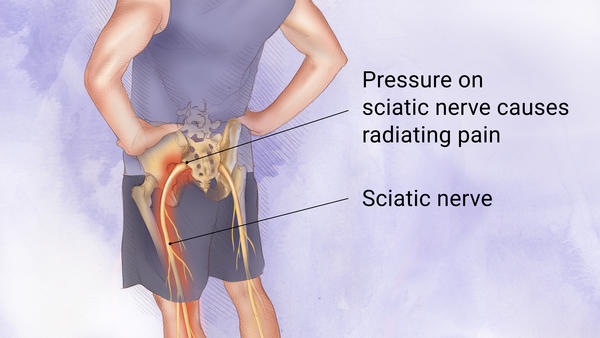
“Sciatica” is the name used by doctors used for”sciatica,” which is the term that refers to sciatic nerve pain. When you feel that your sciatic nerve is compressed, stretched or inflamed it can happen. Let’s dive a little deeper into ways to utilize yoga’s healing powers to prevent, alleviate, and manage sciatica. Here are a few recommended postures to treat sciatica that you can attempt without risk.
TIP: A relaxed mind can help you perform the pose.
Children’s Pose (Balasana)
Image: Shutterstock
Child’s Pose is a great way to couple to your body and relax it. It encourages the flexibility and mobility within your thighs, hips and your lower back by stretching and lengthening your spine.
How to get it How to do it
- Place your knees in a row on your mat.
- You can extend your knees as long as your mat will allow.
- Keep your big toes in contact but keep your heels separated. Your arms should be stretched forward until your arms and brow are flat on the mat.
- Reduce your shoulders to your ears, and place them on your mat. When you lower your hips to your heels, hold an open posture and feel your shoulders stretch.
- Take some deep breaths and then shutting your eyes.
Tips: Place a cushion or bolster underneath your chest, legs, and your forehead to provide more support.
Half Moon Pose (Ardha Chandrasana)
Image: Shutterstock
Half Moon Pose helps to improve balance and strengthen your body. It eases your spine as well as your glutes, spine, and thighs, while also improving flexibility and relieving stress.
How to get it How to do it
- Relax and sit straight with your arms by your sides, and your feet joined.
- Make sure you are in a straight stance, with your legs and feet apart in the shape of a triangle.
- Your head should be turned to look at the floor, placing your right hand placed on your hip.
- Transfer your weight onto the front of your foot benting the front of your leg.
- Bring your front hand forward and place it behind your shoulder on the floor or on a block.
- To ensure your stability To keep you in place, press down using your fingers.
- Bring your rear leg up until it’s in line with the ground.
- Slowly turn your hips and your body slowly to the left, then turn your chest so that it faces to the right.
- Lift your arms to the heavens. If you can, keep your focus on the floor. If not, then get to your feet!
- After letting go and repeating the exercise on the opposite side, remain for five minutes.
Tips: Try this stance against the wall to remain well-balanced. You can lay the yoga brick on your palm.
Cobra Pose (Bhujangasana)
Image: Shutterstock
This comfortable posture can strengthen and stretch your spine while simultaneously increasing blood flow and flexibility.
How to get it How to do it
- Place your hands under your shoulders, and then lie down on your stomach.
- Make sure you squeeze your elbows tight to your body.
- Lift your chest, head and shoulders while inhaling.
- Maintain a wide chest and make a slight bend in your elbows.
- The thighs, the lower back and abdominals must all be working.
- Maintain the position for 30 seconds or more.
- Repeat the exercise three times following release of the pose.
Tips: As a majority of us prefer one hand over the other so your back weight might be uneven towards one direction. Involve both arms and feel the tension along the backbone , in mid-section part of your back.
Cat-Cow Pose (Marjaryasana/Bitilasana)
Image: Shutterstock
It requires a shift of the spine from an rounded (flexion) into an arch position (extension). This is a fundamental vinyasa because each movement is executed by combining either the exhale or inhale of the breath.
How to get it How to do it
- Place your knees to the ground. Lean forward, and place your hands on the floor just beneath your shoulders. Align your thighs and hands with the floor. This is known in The Tabletop position.
- Inhale and then arch your back towards the sky and raising your head.
- You can hold for up to a minute, or two minutes.
- Inhale and bend your back to the side while lowering your chin toward the chest. i.e. Relax your shoulders.
- Keep it for a minute or two minutes.
Tips: If you suffer from neck injuries keep your head aligned with your torso. Don’t lower it backward or forward.
Locust Pose (Salabhasana)
Image: Shutterstock
The spine, glutes, as well as the thighs are all strengthened when you’re in this posture. It helps strengthen the lower back as well as your core. It also aids in improving hip mobility and circulation.
How to get it How to do it
- Put your fingers at the bottom of your spine and lay on your stomach.
- Then slowly raise the torso arms and head until you reach the highest level you can.
- Arms are raised over your head, and then turn them away from your body.
- Do the same thing with both legs or one leg at time until you are able to go deeper.
- Use your glutes and lower back and abs.
- Keep the position for at least 30 seconds.
- Return to the beginning position after release from the posture.
- After a few moments, lay back and relax your body by gently moving your hips from side side.
- Repeat the process two times more.
Tips: Salabhasana should not be done too quickly or excessively as it can cause cramps on the soles of the feet, hamstrings that are damaged, as well as lower back discomfort..
Bridge Pose (Setu Bandha Sarvangasana)
Image: Shutterstock
It is believed that the spine is stretched out in Bridge Pose, which relieves tension and pain. It increases circulation through gentle activating the entire body. It also helps strengthen the glutes, legs and the core.
How to get it How to do it
- Relax on your back with knees bent with your heels placed against your hips.
- With your hands facing downwards with your arms pointing downwards, you can bring them towards your body.
- Your hips should be raised as high as you can while lifting slowly your spine off the floor.
- Make sure you are aligned by placing the block on your knees, or your thighs.
- Return slowly to your original place.
- Repeat the exercise 10 times.
- In the beginning Relax your body.
- Keep the stance for 1 minute while in the upper position.
Tips: If your neck feels tight or hurts put a blanket under your shoulders and your upper arms.
Yoga Poses to Avoid
Forward bends while in the sitting and standing postures (except Downward-Facing Dog) must be avoided as they can put extra strain on the pelvic region and lower back. Forward bends can be performed when lying down (lying down, or face-up). This helps in back and hip back support.
TIP: Listen the body’s signals when you are in discomfort. Don’t force yourself to perform the postures when the pain is getting worse.
FAQs Frequently Asked:
Q. Does yoga help to make sciatica more severe?
A. Generally, any movement that is done quickly or excessively could overtax your sciatic nerve and increase discomfort. The forward folds are not an exception. The fold or flex at the waist may cause serious damage to sciatica.
Q. What causes yoga to aggravate sciatica?
Image: Shutterstock
A. Since yoga has certain asanas and postures that can strain your back and legs of someone suffering from sciatica and sciatica, all yoga postures are not recommended.
Q. What is the best way to relieve sciatica?
The HTML0. Here is an easy stretch to relax the nerve. Start by lying down on a flat surface , and lifting and pulling the leg that is affected toward the shoulder. Keep the leg in this position for 30 seconds after you feel the stretching. After that, let it relax as you straighten it back to its starting position take a break for a few minutes, then repeat the process two times.
Q. What is the most comfortable way to sit to treat sciatica?
The . To combat sciatica to combat sciatica, lie down with your feet on the floor and hips a few degrees above the knees as well as your spine in an upright posture. It will lessen the strain to your glutes and spine along with your sciatic nerve by doing this.


Understanding Leg Pain: Causes, Symptoms, and How Chiropractic Care Can Help
Are Core Strengthening Exercises Effective for Lower Back Pain Relief?

Nerve Root Compression: Understanding, Symptoms, and Effective Treatments

Understanding and Treating a Herniated Disc: Your Guide to Relief and Recovery

Lower Back Pain: What’s Really Going On and How You Can Feel Better

Understanding Sciatica and Radiculopathy: Causes, Symptoms, and Management
How Often Should You Exercise to Maintain Lower Back Health?
What Are the Top 10 Exercises for Sciatica Pain Relief?
How Does Proper Hydration Reduce Muscle Pain Naturally?
Are Mesh Back Chairs Better for Sciatica Pain Relief?
How Does Stretching Help in Easing Sciatica Discomfort?
What Are the Top 10 Herbal Remedies for Natural Muscle Pain Relief?
How Does Regular Exercise Help Alleviate Lower Back Pain?

How Does Aging Contribute to Chronic Lower Back Pain?
¿Desaparecerá el entumecimiento de los pies con ciática?
How Does Heat Therapy Provide Natural Relief From Muscle Pain?
How Effective Are Herbal Supplements for Alleviating Sciatica Pain?
The Pain Tape Game: Does KT Tape Help With Sciatica?
Will Foot Numbness with Sciatica Go Away?
What Causes Sciatica Nerve Pain
How To Get Sciatica To Stop Hurting
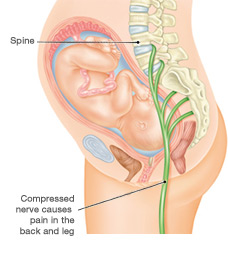
How To Get Rid Of Sciatica Pain During Pregnancy
How To Drive With Sciatica

Will Sciatica Show Up On MRI
How To Fix Sciatica Pain Fast
How To Help Sciatica Pain Naturally
How To Help Sciatica Pain At Home
How To Know Its Sciatica Pain