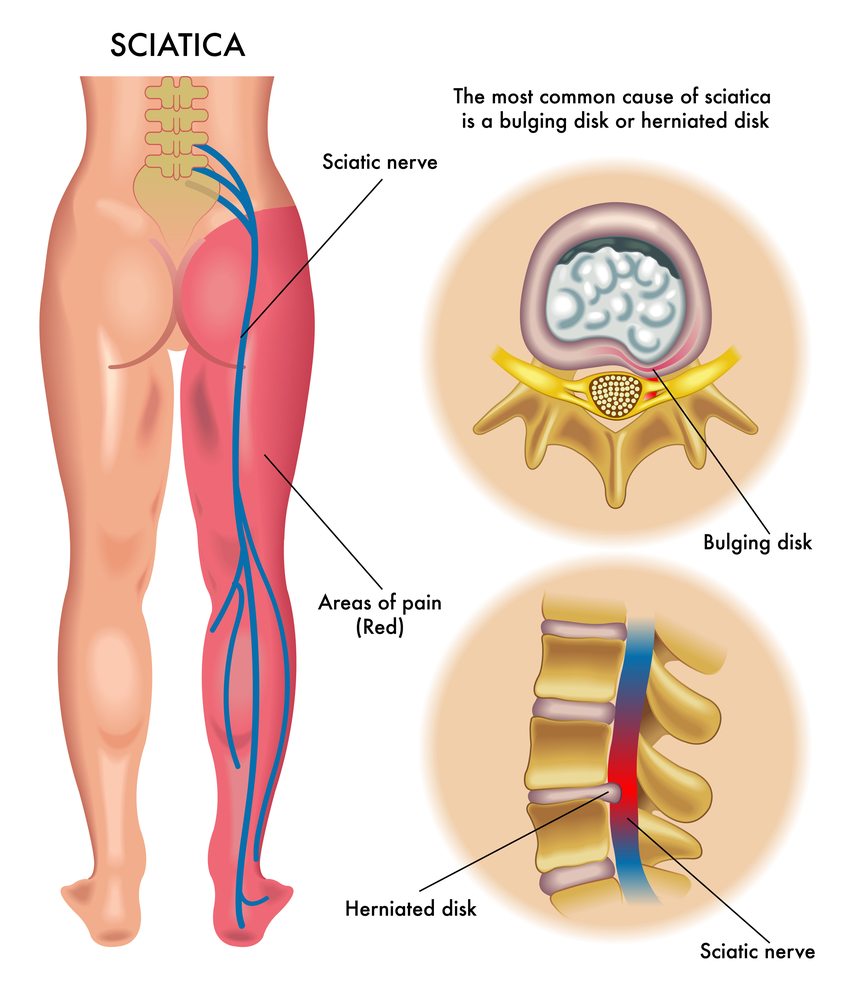
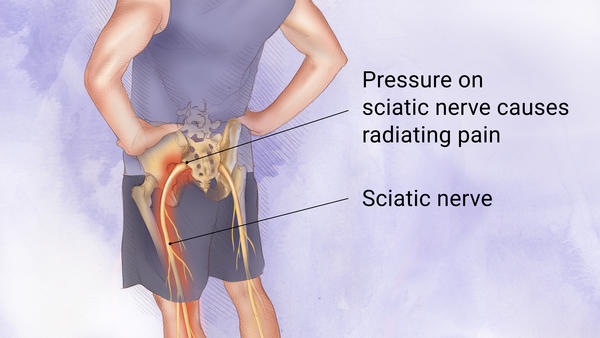
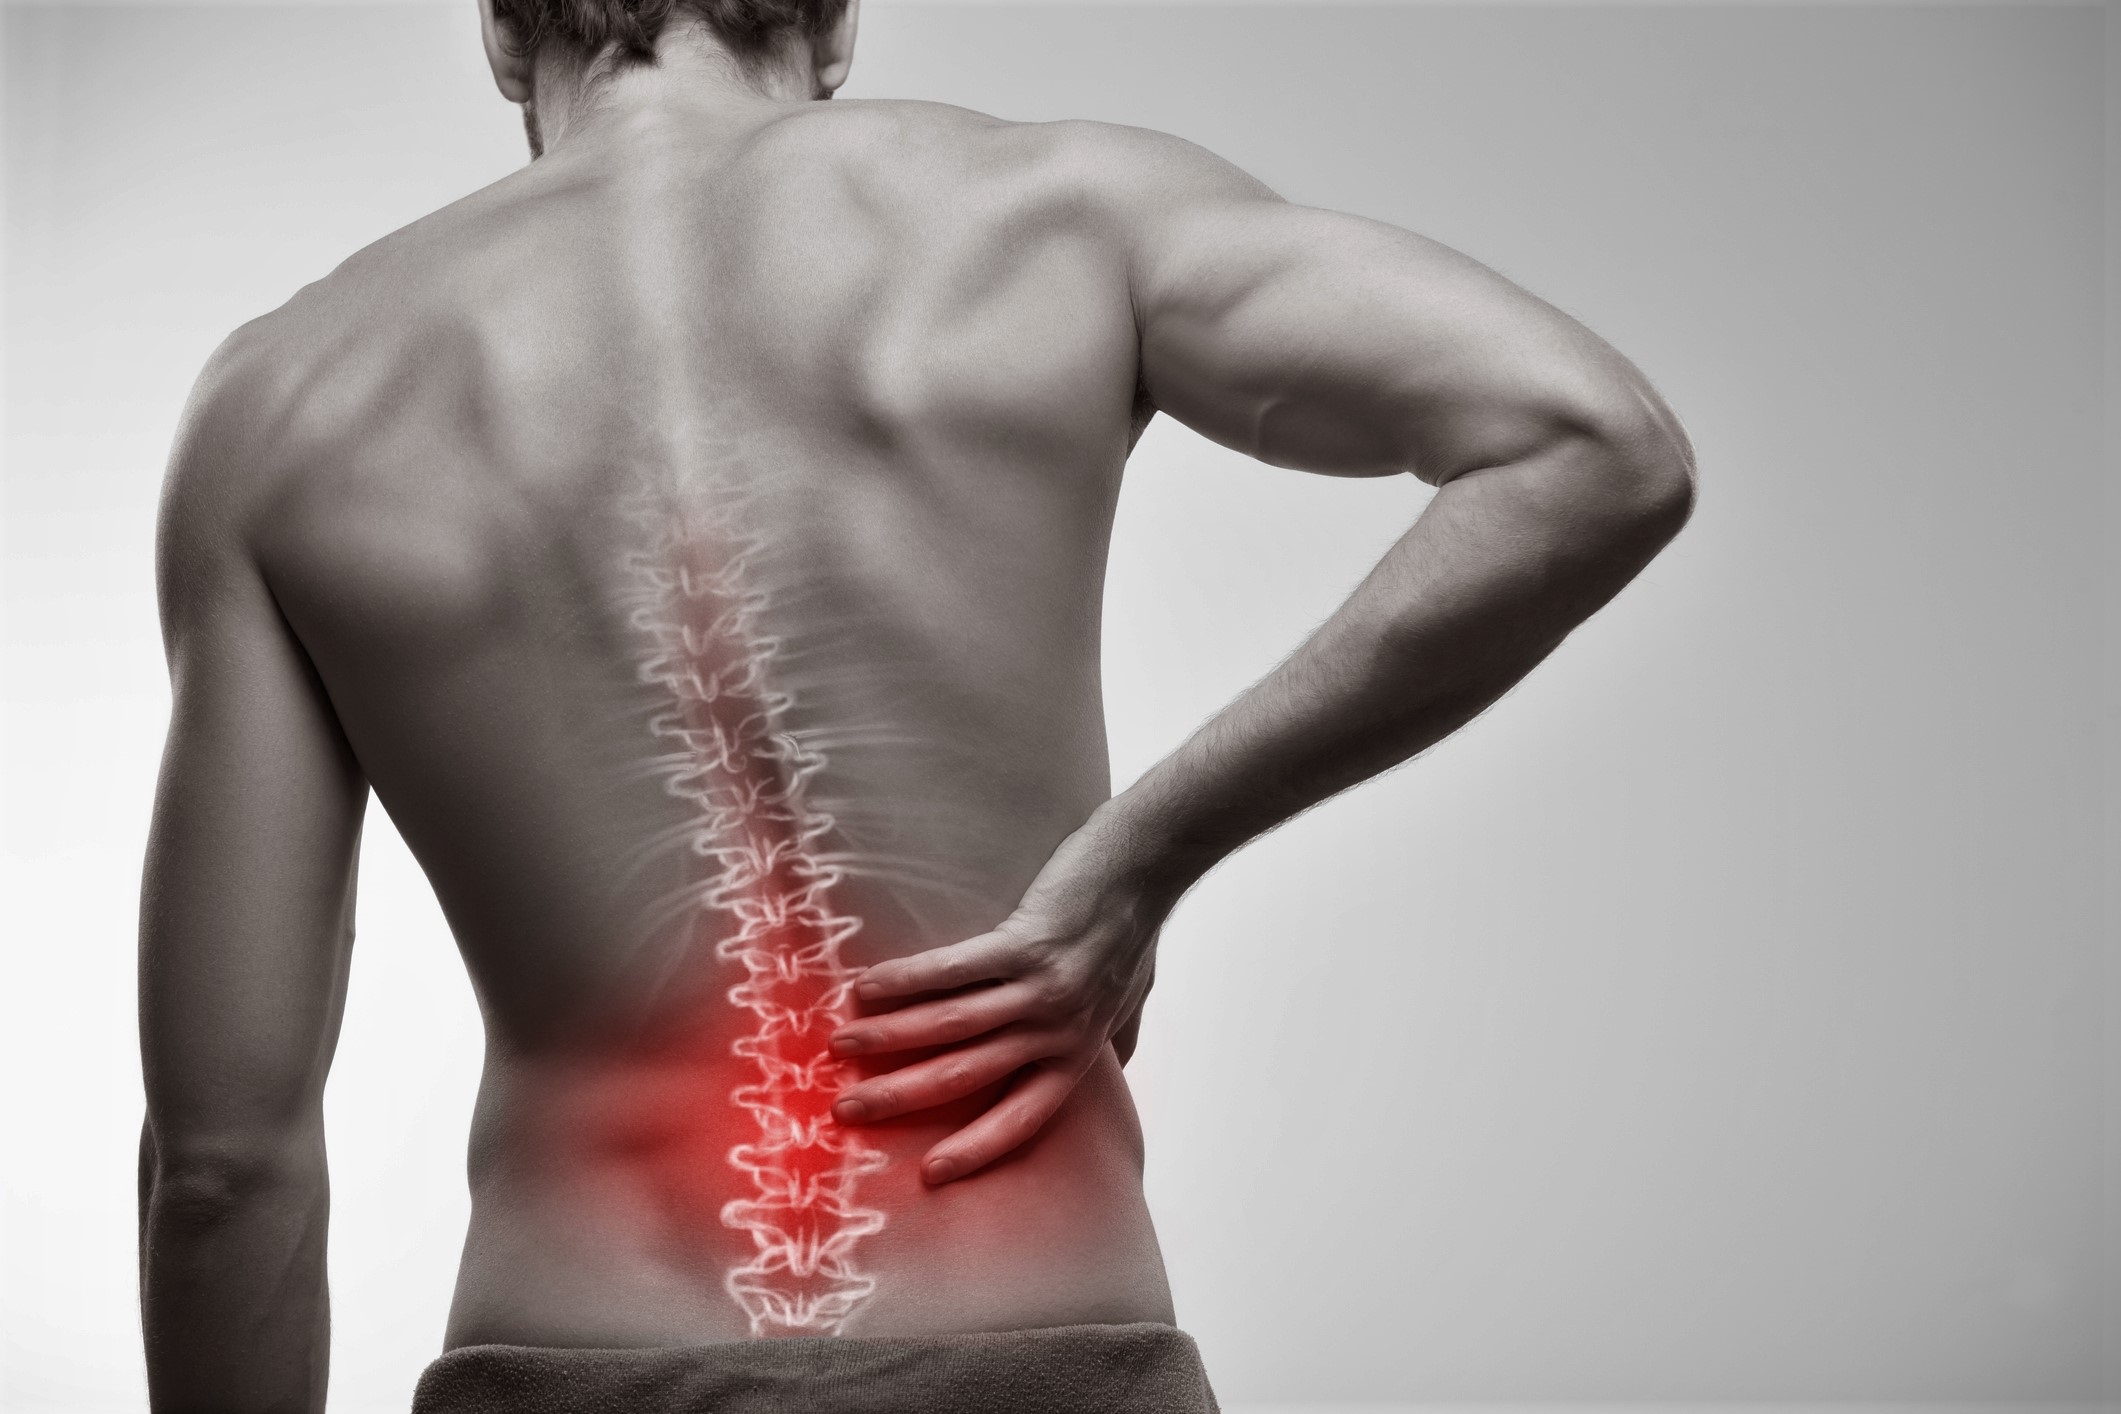
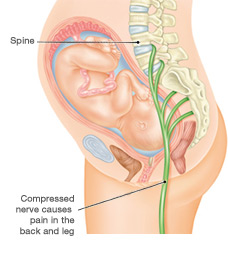
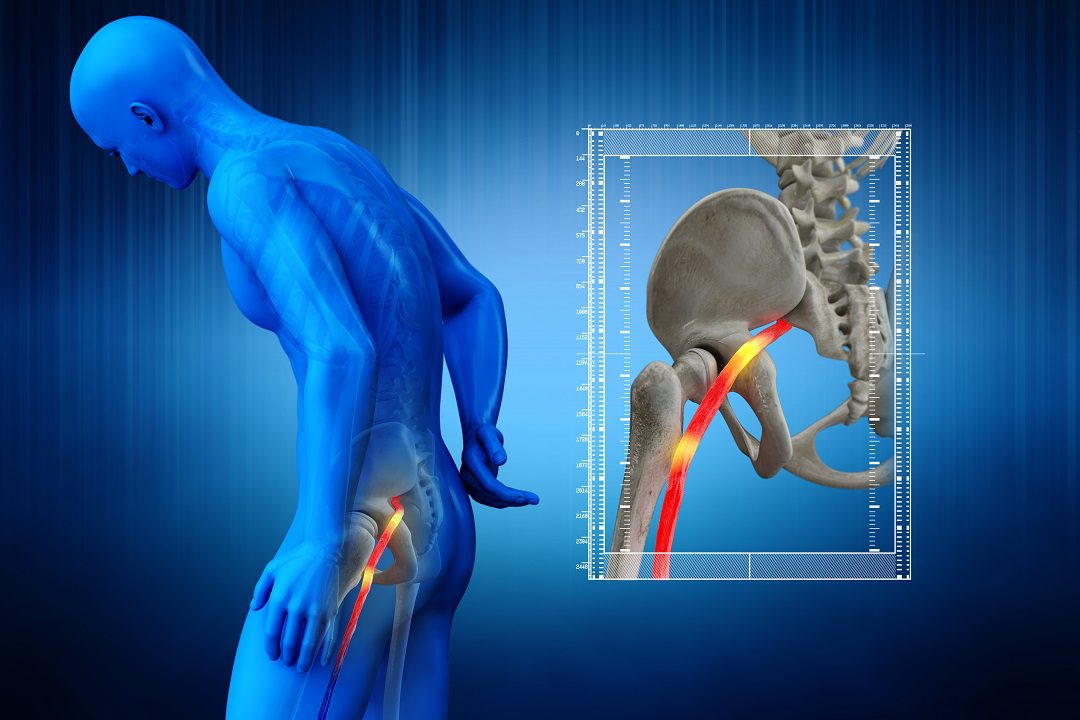
Sciatica
5 Amazing Restorative Yoga Exercises to help back Pain The 5 Best Back Pain Relief Exercises Sportskeeda
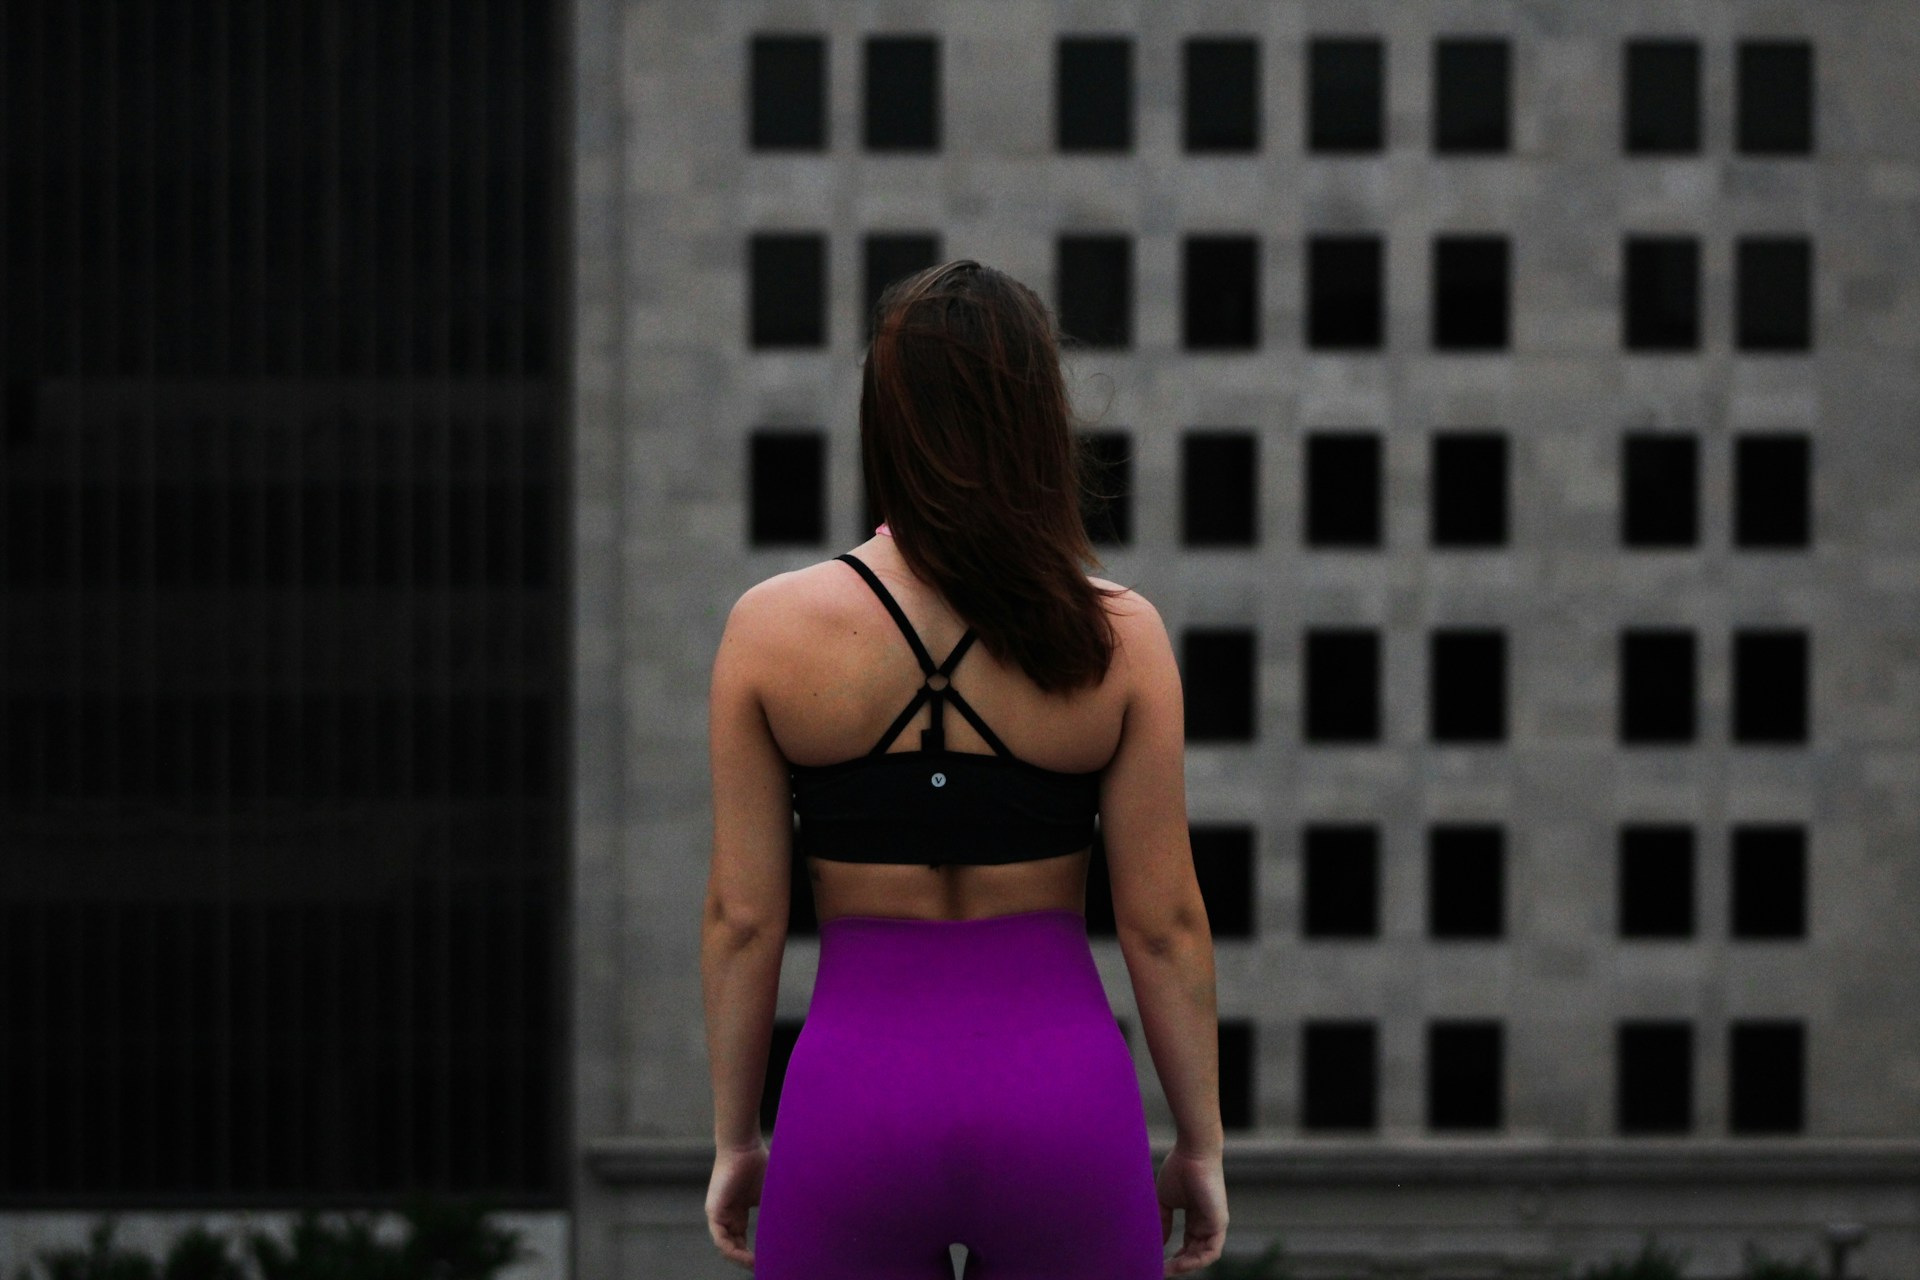
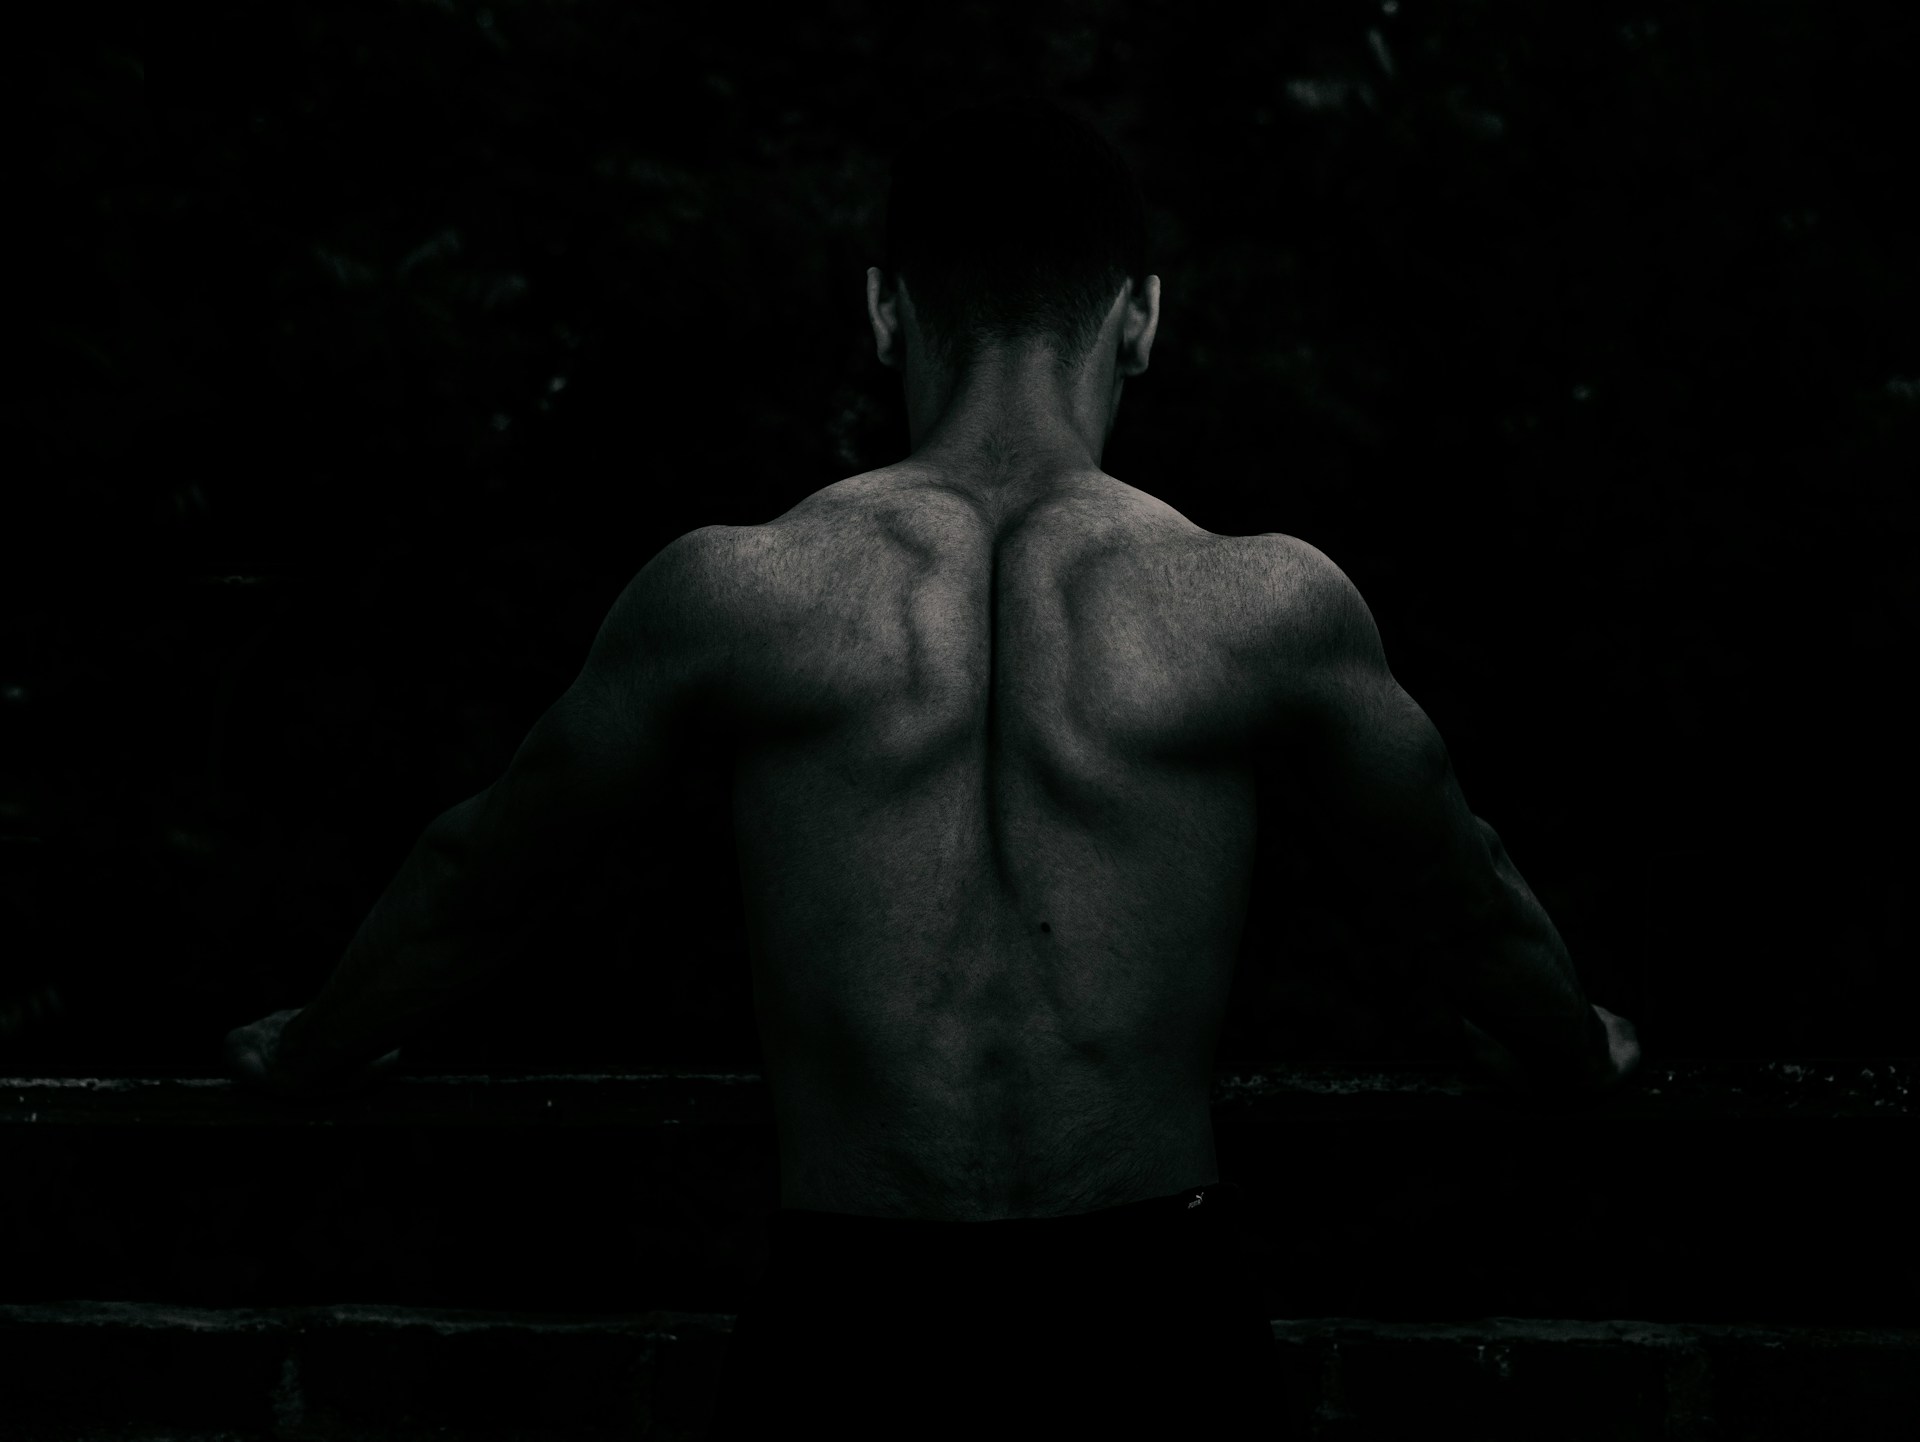
Yoga may be the thing you need from your doctor If you suffer from back discomfort. It’s a form of therapy for the mind and body that is frequently recommended to treat back tension and tension that it causes. By focusing on the correct postures, your body will become more relaxed and stronger.
Even if you just take just a few minutes per day, it could aid in learning more about your body. It will let you know how you’re holding tension, and also where you’re out of the balance. You can get yourself back in alignment and balance by being aware.
Restorative Yoga Exercises to Help Back Pain
Take a look at these five yoga poses that are restorative and exercises that will assist you in getting rid of back discomfort. These postures lengthen and stretch the back muscles, as well as increase their strength over time.
1.) Downward Facing Dog
The Adho Mukha Svanasana pose can assist you in relaxing and feeling better. This posture can help those who suffer from back discomfort and sciatica get more relaxed. It assists in addressing the imbalance in the body and strengthens it.
The shoulders, hamstrings and shoulders gluteus maximus and the quadriceps will be working. Learn how to perform this yoga posture:
- Kneel down and place your put your hands are on the floor. Hands should remain aligned with your wrists, and your knees should be aligned with your hips.
- Put your hands in your hands, put your toes in a tuck and raise your knees.
- Your sitting bones should be raised toward the ceiling.
- Keep your knees bent, and keep your spine and tailbones long.
- Don’t let your feet reach the ground. Apply plenty of force in your hands.
- Place your weight evenly on both sides of your body. Pay focus on how your shoulders and hips are placed.
- Keep your head at a level with your arms raised or gently tuck your chin.
- It is possible to remain in this position for as long as one minute.
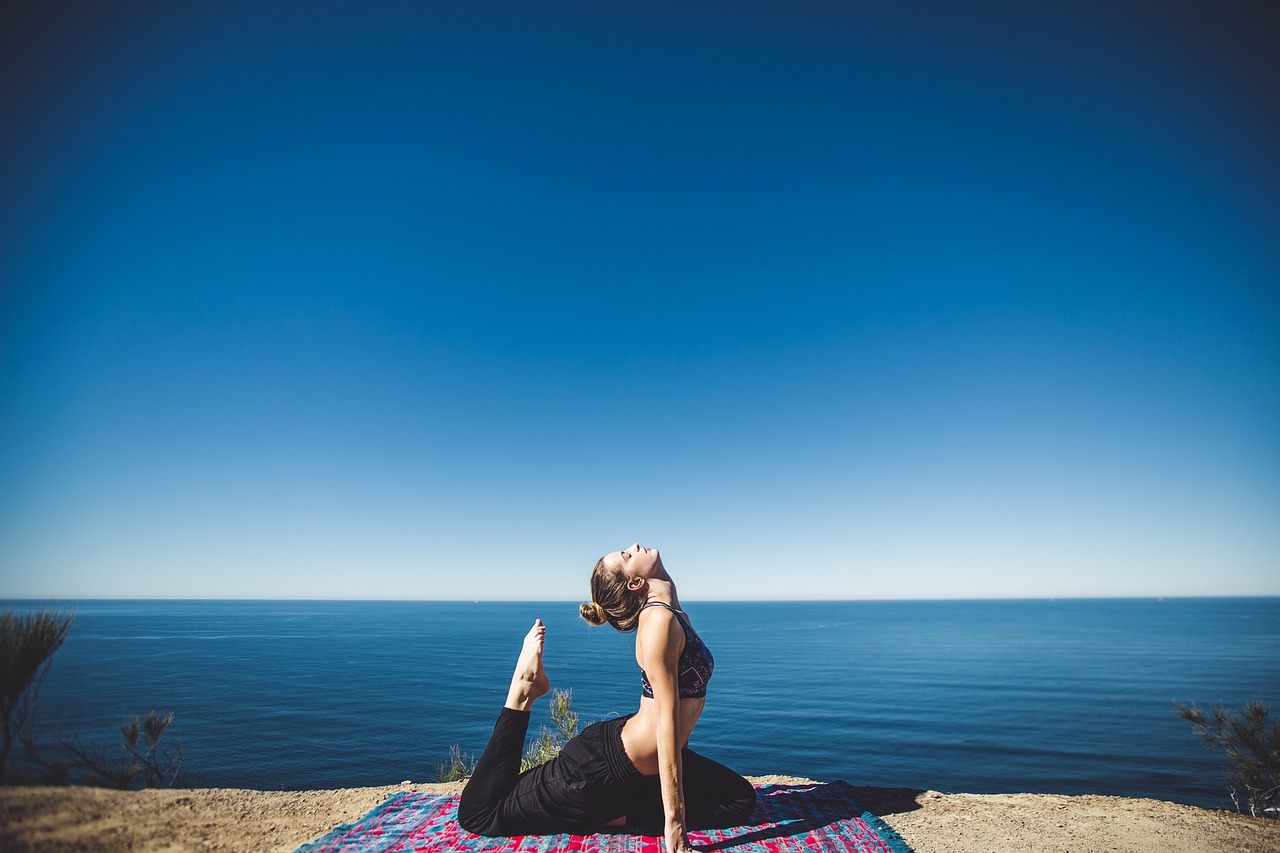
2.) The Extended Triangle Pose
The Trikonasana can alleviate sciatica or neck and back discomfort. It improves shoulders as well as the chest and legs. It also stretch the back and hips as well as the the groin.
It can also alleviate stress and anxiety. The latissimus Dorsi, internal gluteus maximus, the obliques and medius, hamstrings and quadriceps are all worked out.
Find out how to practice this yoga pose:
- Keep your feet 3-4 feet from one another (or as far as comfortable for you).
- Move your right foot towards the front, then angle your left toes away.
- While your palms are facing downwards and your arms lifted up to the point they’re aligned with the floor.
- Lean forward and bend your right hip, bringing your body and your arm to the side.
- Place your hands on the flooring, either your leg or even a yoga mat. Your left arm should be stretched up toward the ceiling.
- You can look upwards either ahead or up.
- It is possible to stay in this posture for as long as one minute. Repeat on the opposite side.
3.) Sphinx Pose
This simple backbend can make the back and buttock muscles stronger, which may alleviate back discomfort.
It helps to give your shoulders, chest and stomach with a great stretch. It also helps to reduce stress. This workout targets the gluteal, erector spinae muscles, pectoralis major trapezius and latissimus Dorsi muscles.
Learn how you can practice this yoga pose:
- You can lie on your stomach, with your legs spread out to the side.
- Make use of your lower back muscles, buttocks, and the thigh muscles.
- Set your forearms down on the ground, with your palms down and your elbows under your shoulders.
- Slowly raise your head and your upper body. Then, lift your lower abdominals and stretch them out to support the back.
- Be sure to lift up by your spine and then out of the top of your head, instead of falling to the lower back.
- Keep your eyes focused when you are fully relaxed in this position But remain active and active while you do it.
- Keep this position for two minutes.
4.) Locust Pose
This simple backbend can assist in reducing lower back fatigue and pain. It can make the back arm, torso and legs more powerful. The workout targets muscles in the trapezius and erector Spinae, gluteus maximus, as well as the tricep muscles.
Learn how you can perform this yoga posture:
- Place your body on your stomach, with your palms up and your arms in front of the body.
- Bring your big toes together and then turn your feet toward the side.
- Place a light hand on your head as you lay on the floor.
- Begin to slowly lift your chest, head and arms at least a little bit to the top or about at least halfway.
- You can place your hands together and then tuck the fingers of your back.
- Move your legs upwards to get deeper into the posture. When your neck is stretched, stretch it out. back of your neck, keep looking straight ahead or just a more up.
- You can hold this pose for up to 30 seconds. Take a break before you repeat the position.
5.) Bridge Pose
This is a backbend as well as an inversion that’s both restorative as well as stimulating. It can stretch the spine and may help to decrease back discomfort and headaches.
This posture works out the transverse and rectus glutes, abdominis and hamstrings, as well as erector spinae.
Learn how you can practice this yoga pose:
- Place your body in the back and bend your knees and your heels squeezed into your bones.
- Your arms should be placed next to the body.
- When you raise your tailbone, push your arms and feet into the floor. Continue to press until your thighs are in line on the floor.
- Take your arms off as they are or place your hands underneath your hips to provide assistance.
- You can hold this position for as long as one minute.
- You can roll your back slowly until you are on the floor as vertebra by vertebra and let go. Bring your knees in a straight line.
- Remain calm and take deep breaths in this position.
Do you have a view about this story? Let us know in the comments below. ..


Understanding Leg Pain: Causes, Symptoms, and How Chiropractic Care Can Help
Are Core Strengthening Exercises Effective for Lower Back Pain Relief?

Nerve Root Compression: Understanding, Symptoms, and Effective Treatments

Understanding and Treating a Herniated Disc: Your Guide to Relief and Recovery

Lower Back Pain: What’s Really Going On and How You Can Feel Better

Understanding Sciatica and Radiculopathy: Causes, Symptoms, and Management
How Often Should You Exercise to Maintain Lower Back Health?
What Are the Top 10 Exercises for Sciatica Pain Relief?

How Does Proper Hydration Reduce Muscle Pain Naturally?

Are Mesh Back Chairs Better for Sciatica Pain Relief?

How Does Stretching Help in Easing Sciatica Discomfort?

What Are the Top 10 Herbal Remedies for Natural Muscle Pain Relief?

How Does Regular Exercise Help Alleviate Lower Back Pain?

How Does Aging Contribute to Chronic Lower Back Pain?
¿Desaparecerá el entumecimiento de los pies con ciática?
How Does Heat Therapy Provide Natural Relief From Muscle Pain?
How Effective Are Herbal Supplements for Alleviating Sciatica Pain?
The Pain Tape Game: Does KT Tape Help With Sciatica?
Will Foot Numbness with Sciatica Go Away?
What Causes Sciatica Nerve Pain
How To Get Sciatica To Stop Hurting
How To Get Rid Of Sciatica Pain During Pregnancy
How To Drive With Sciatica

Will Sciatica Show Up On MRI
How To Fix Sciatica Pain Fast
How To Help Sciatica Pain Naturally
How To Help Sciatica Pain At Home
How To Know Its Sciatica Pain